


Super Traction SafeTipTM Installation Instructions:
-
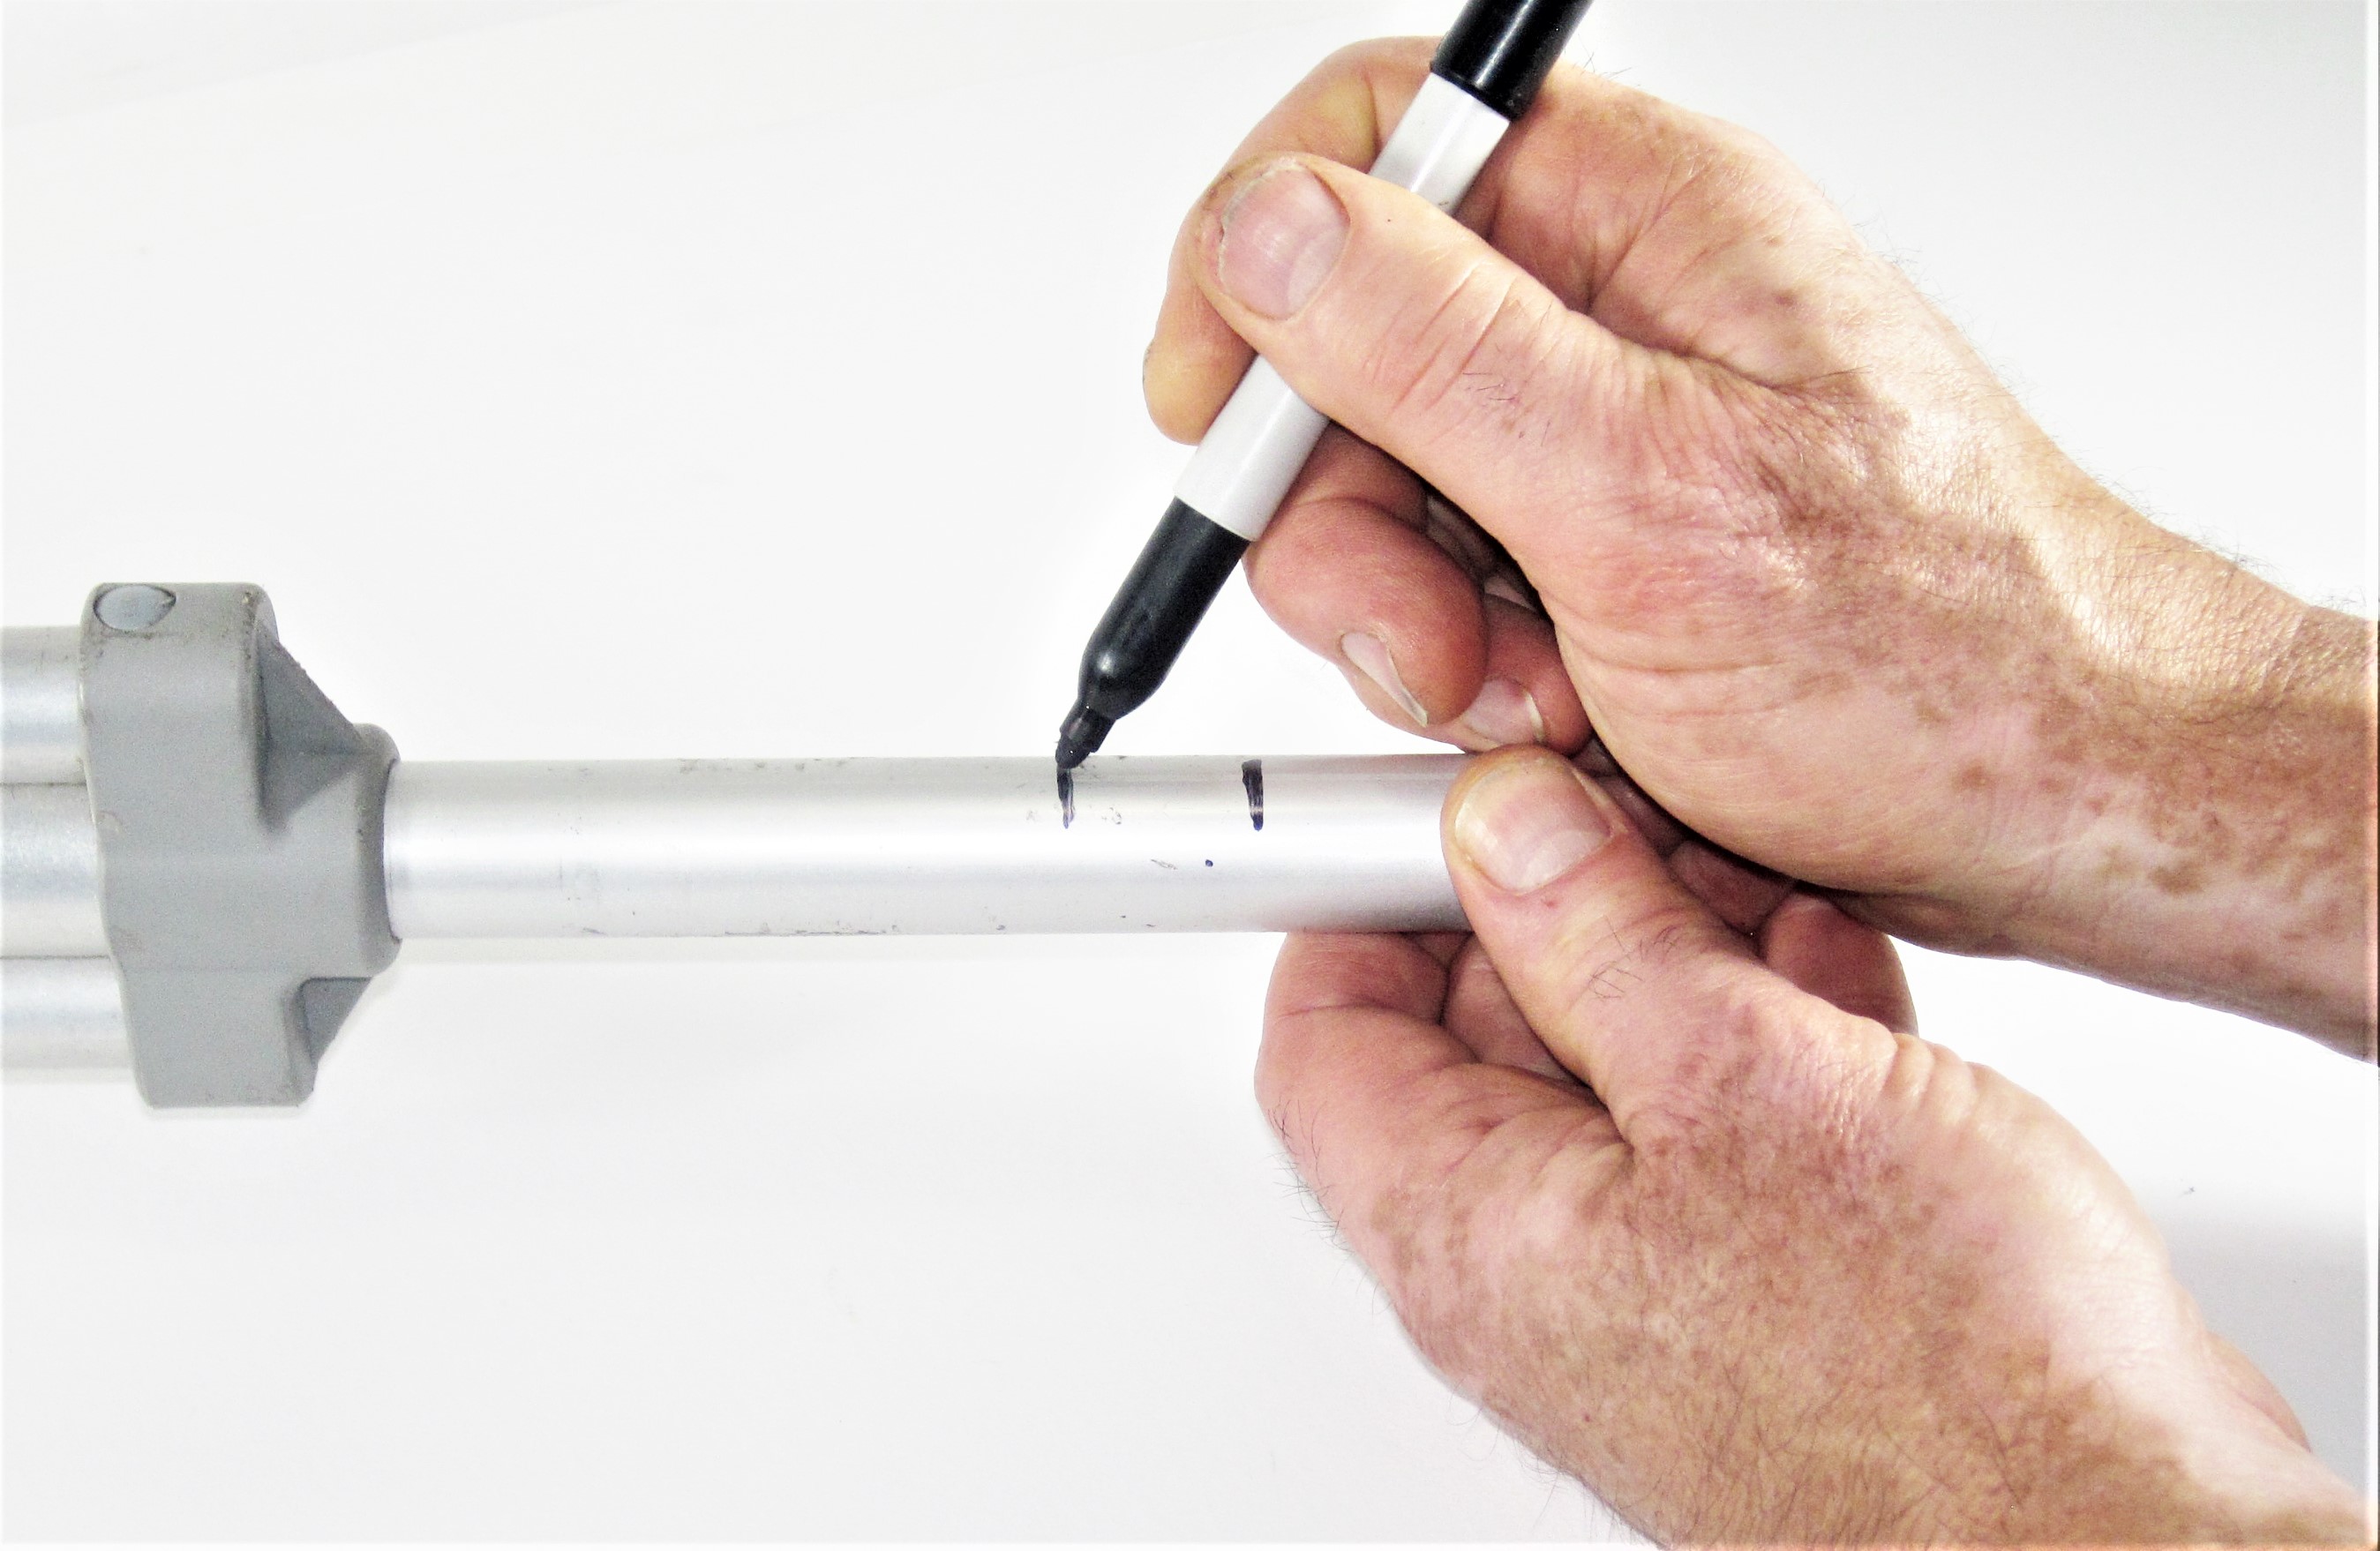
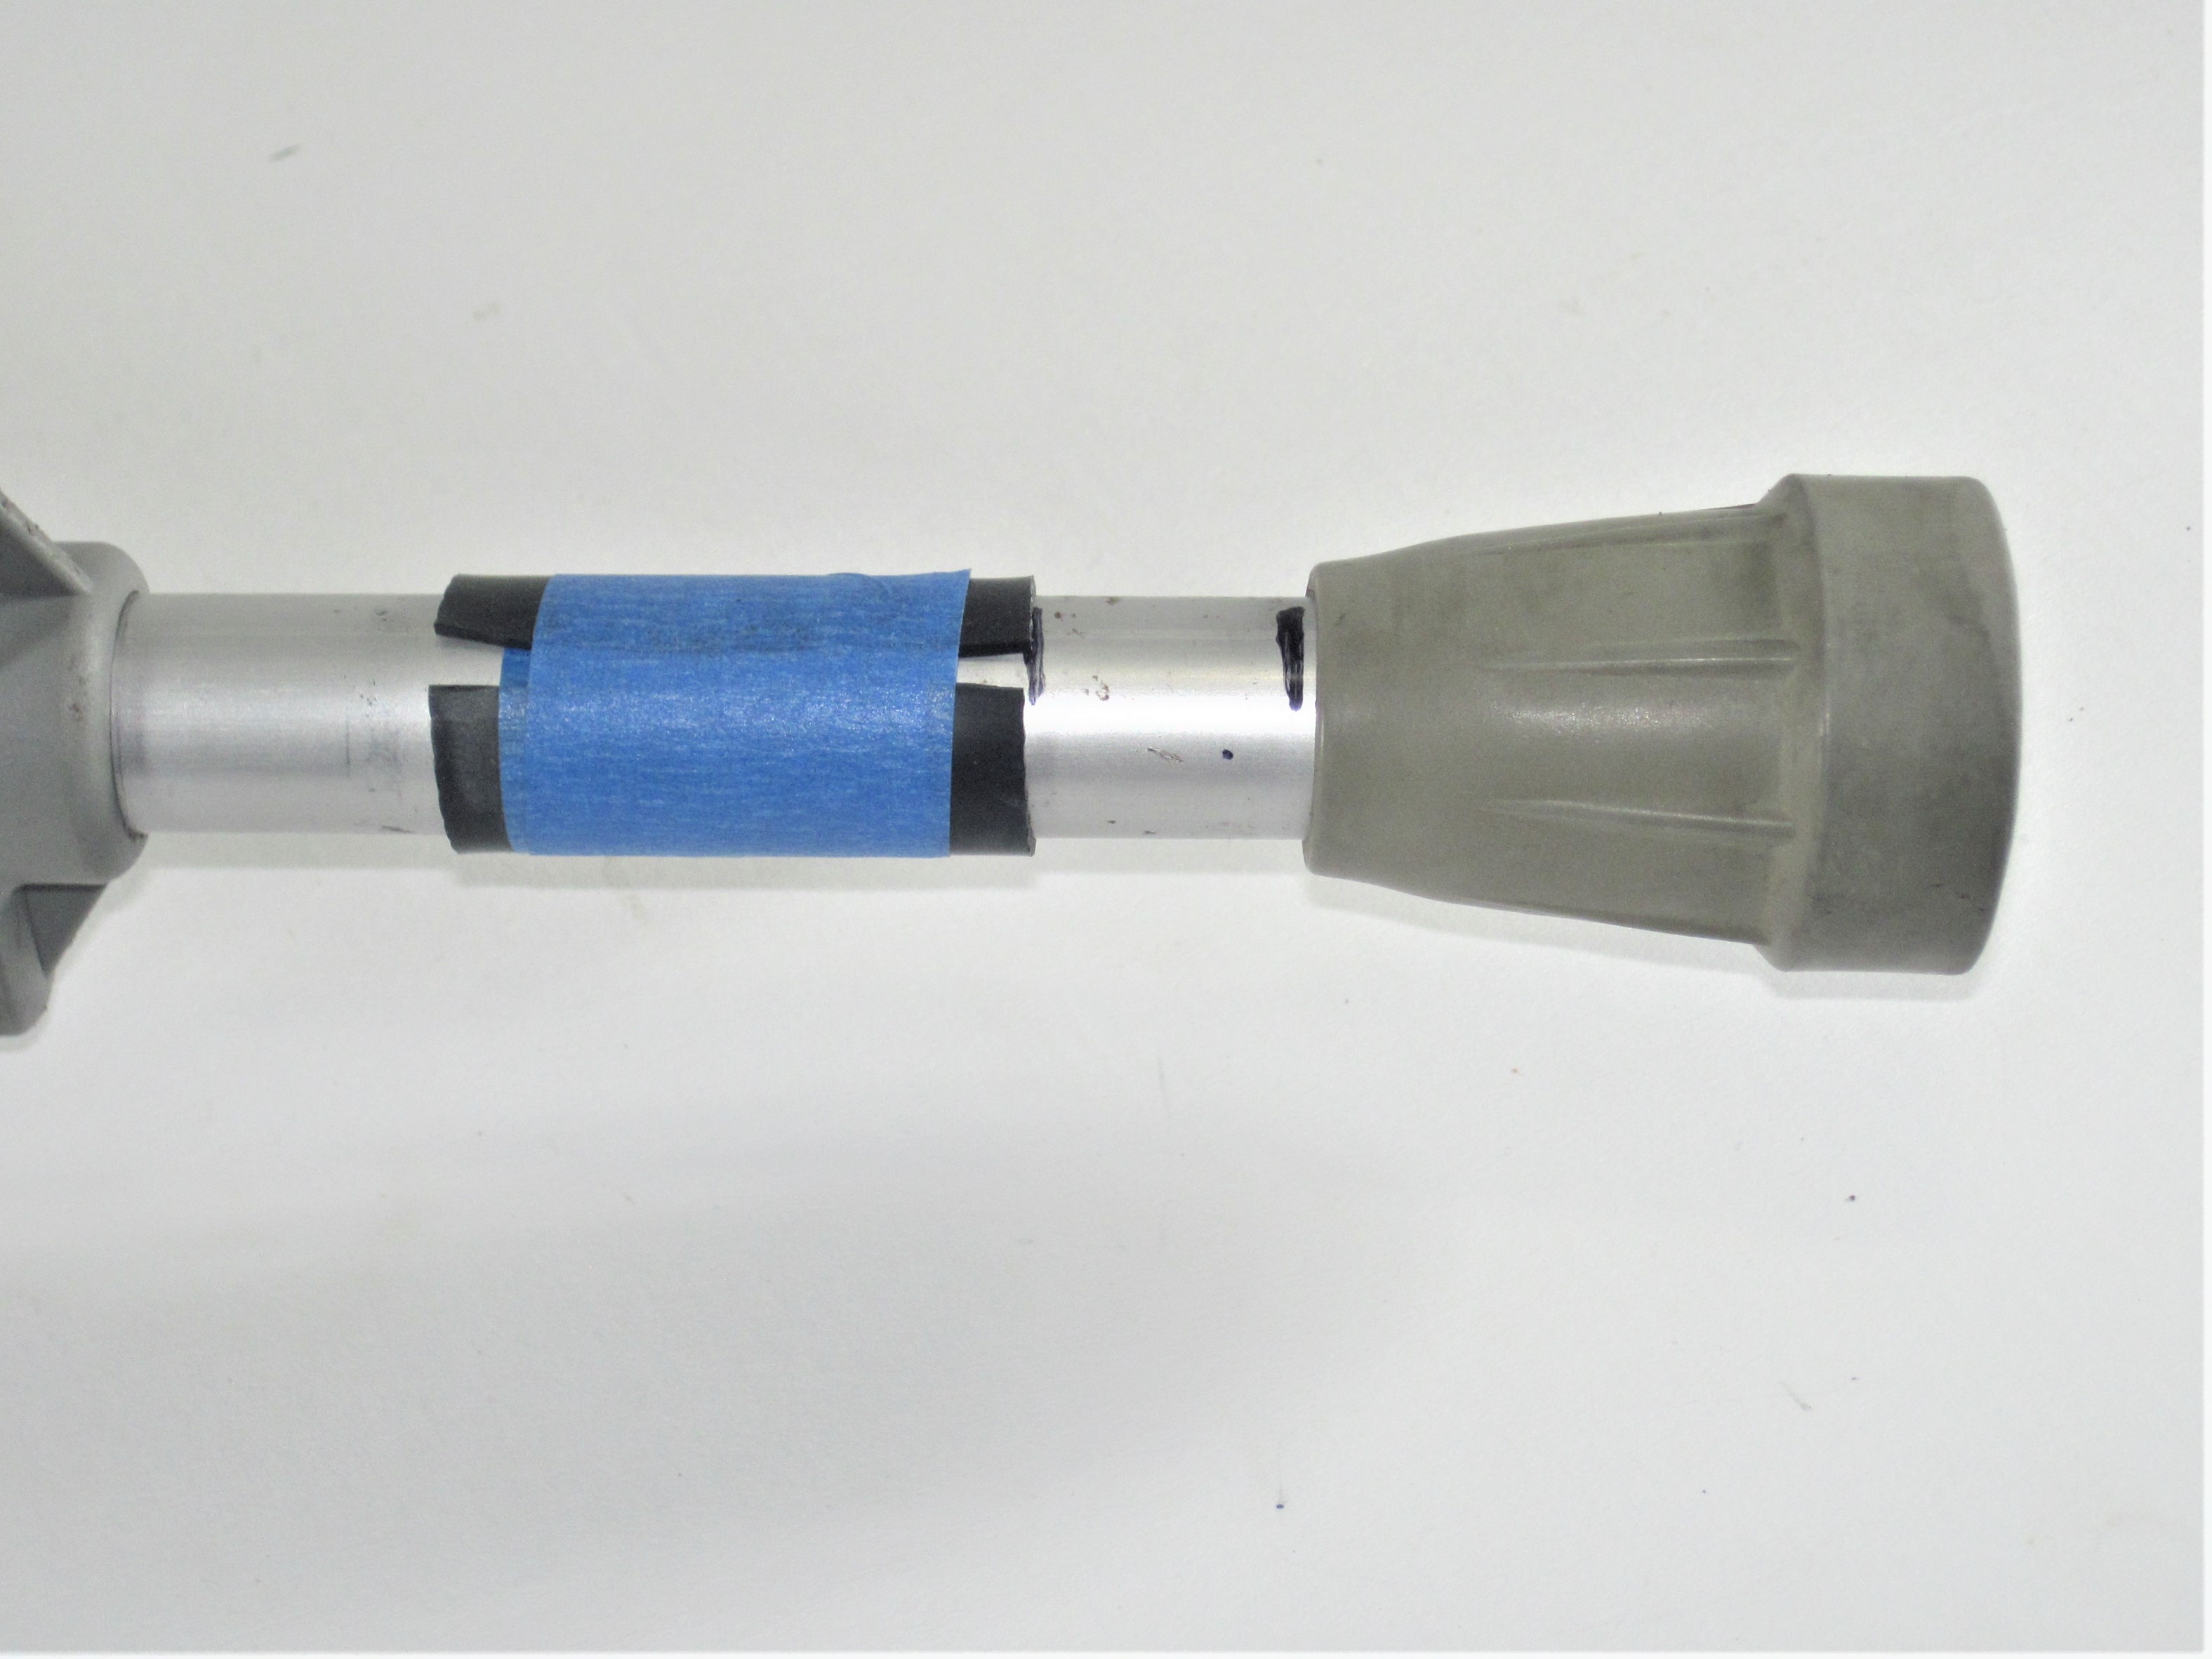
Start by marking the top edge of the rubber tip. Then pull the tip off your walking cane or crutch. Some rubber tips are stuck on really tight. Don't hurt yourself trying to pull the tip off. Instead, stick the tip into boiling water for a minute or two .. then ... wearing gloves ... pull the tip off.

-
Decide where you want to secure the Super Traction SafeTipTM clamping assembly along the walking cane shaft. This will set the maximum penetration depth of the traction spike. Three and a half inches penetration is a good starting point and will keep you clear of regulatory issues. Anyway, this is where the bottom edge of the connector body will be located. Examining the "adjustible" dimension in the Model 2 specification drawings will make all this more clear.
-
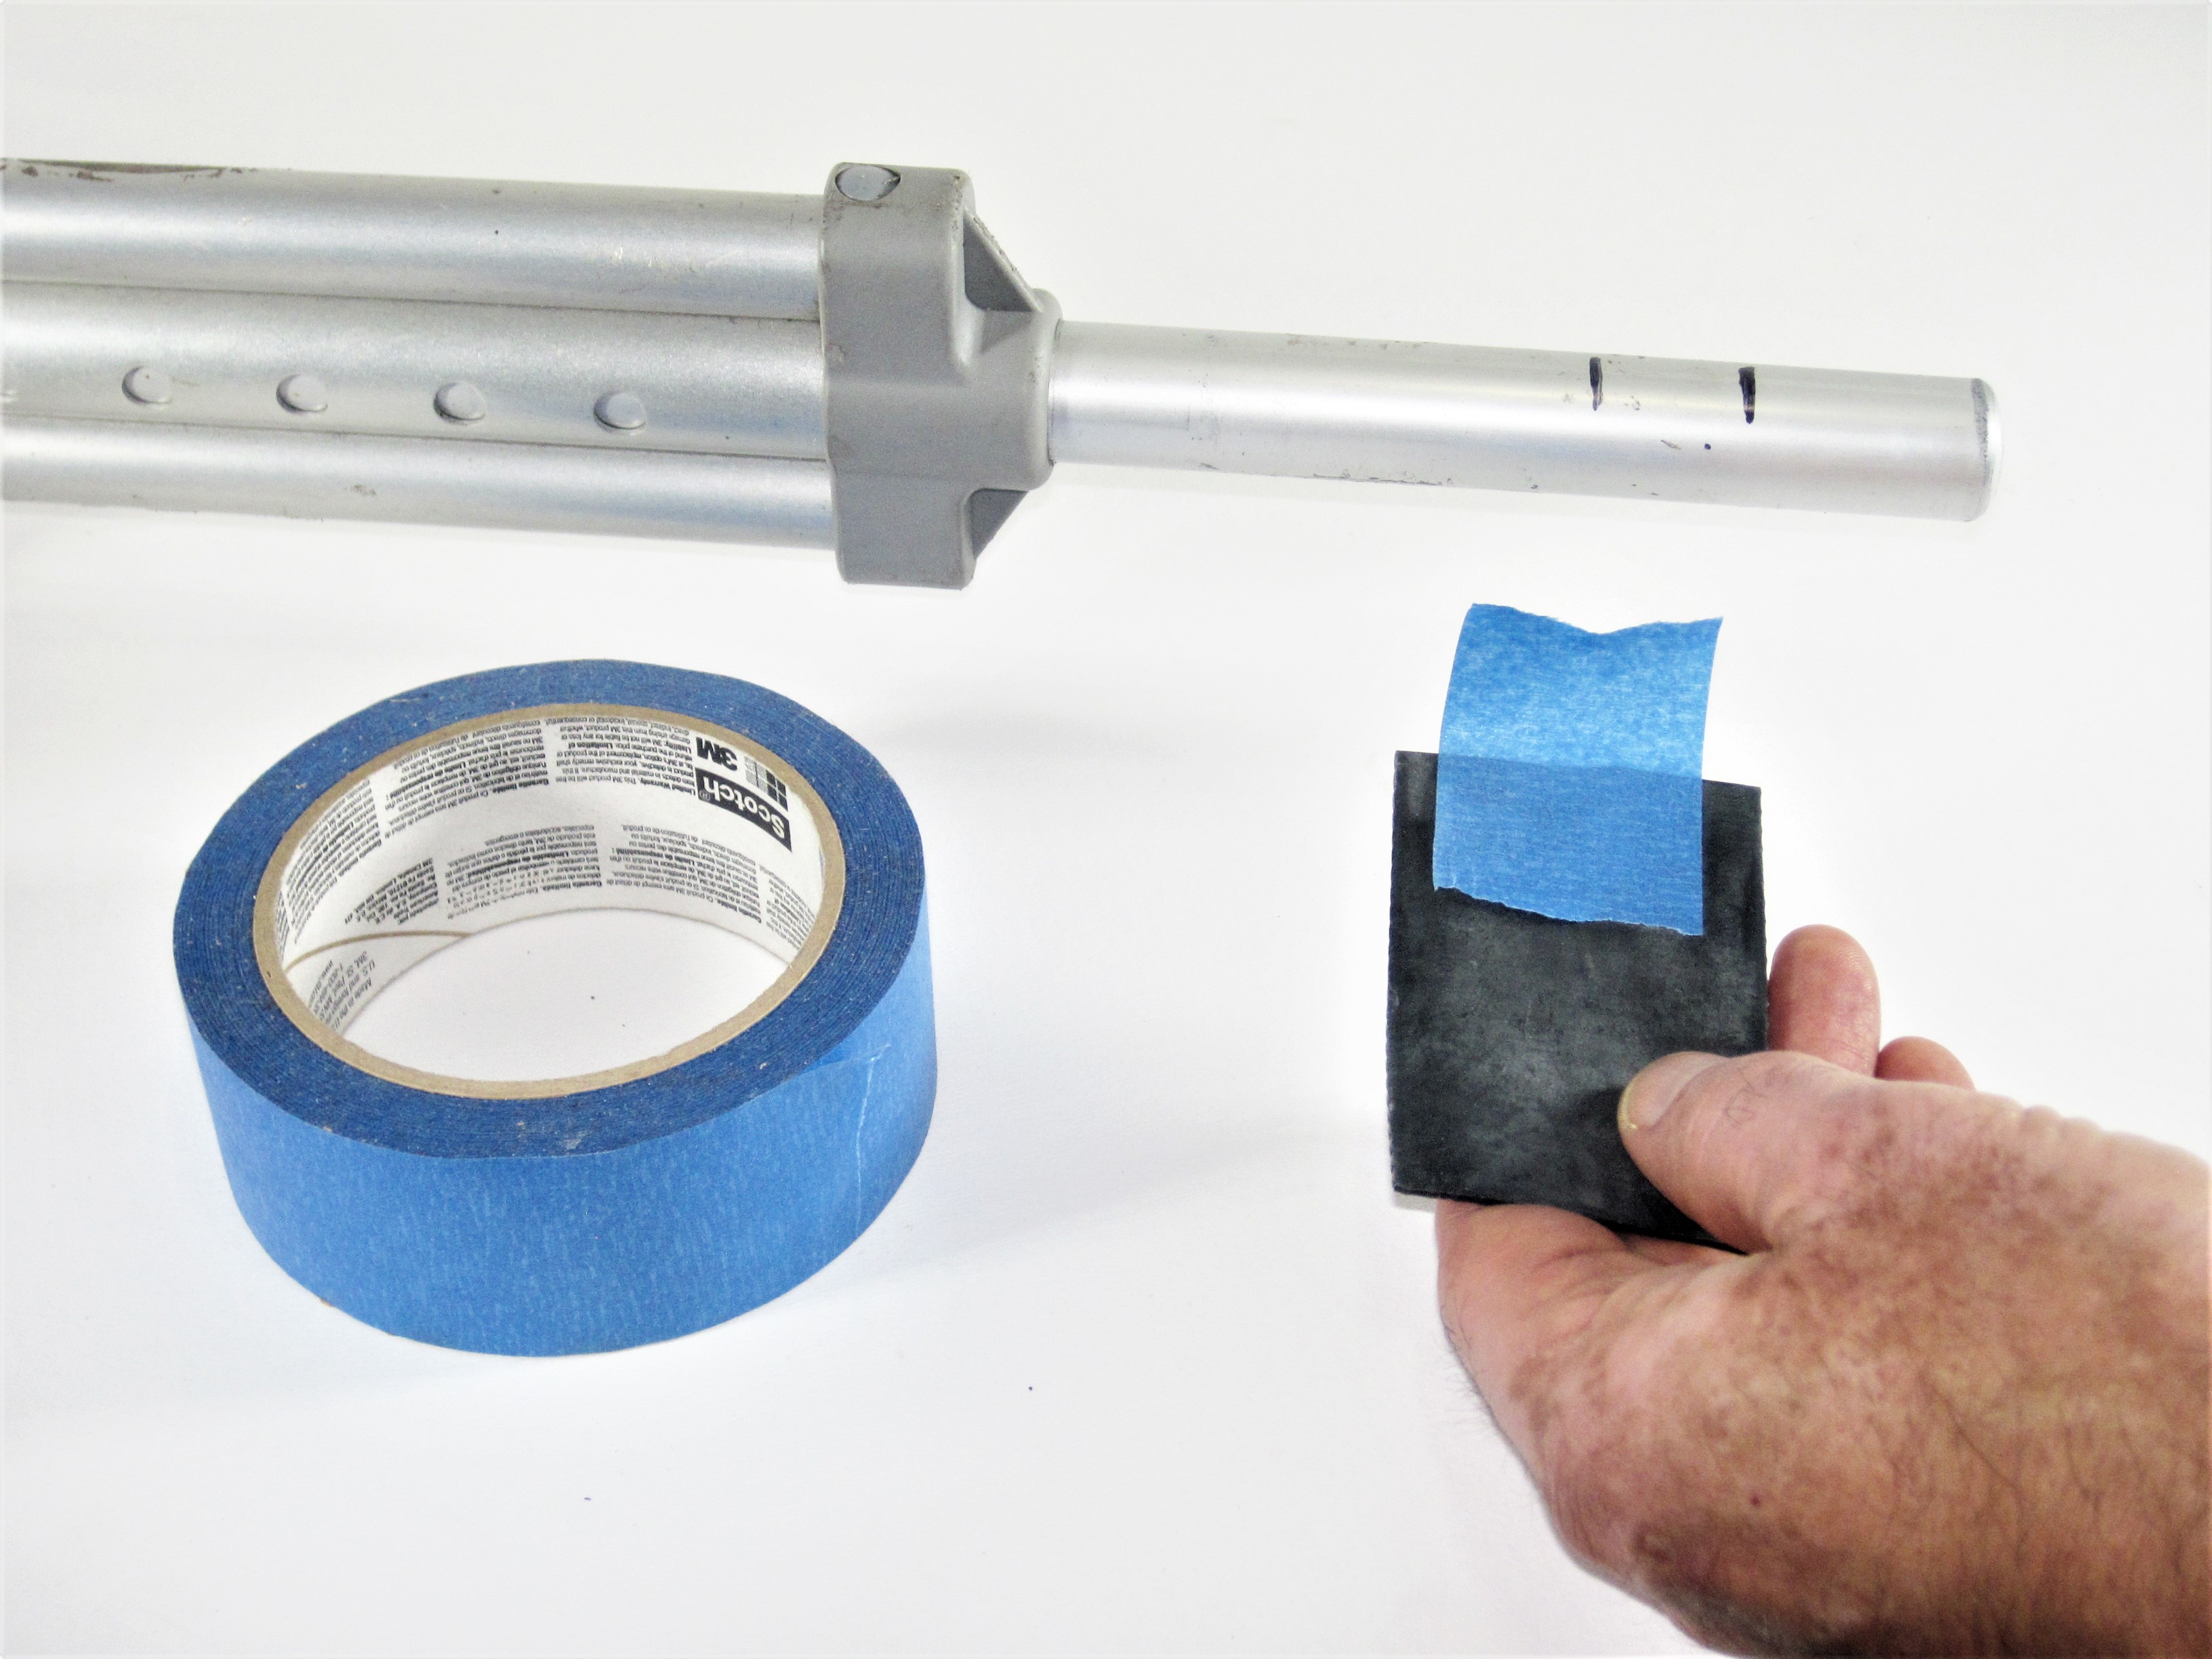
The shim strips are two inches wide by three inches long. Choose one or more shim strips of appropriate thickness and place a piece of any kind of household tape on the two inch wide edge of the strip(s).
-
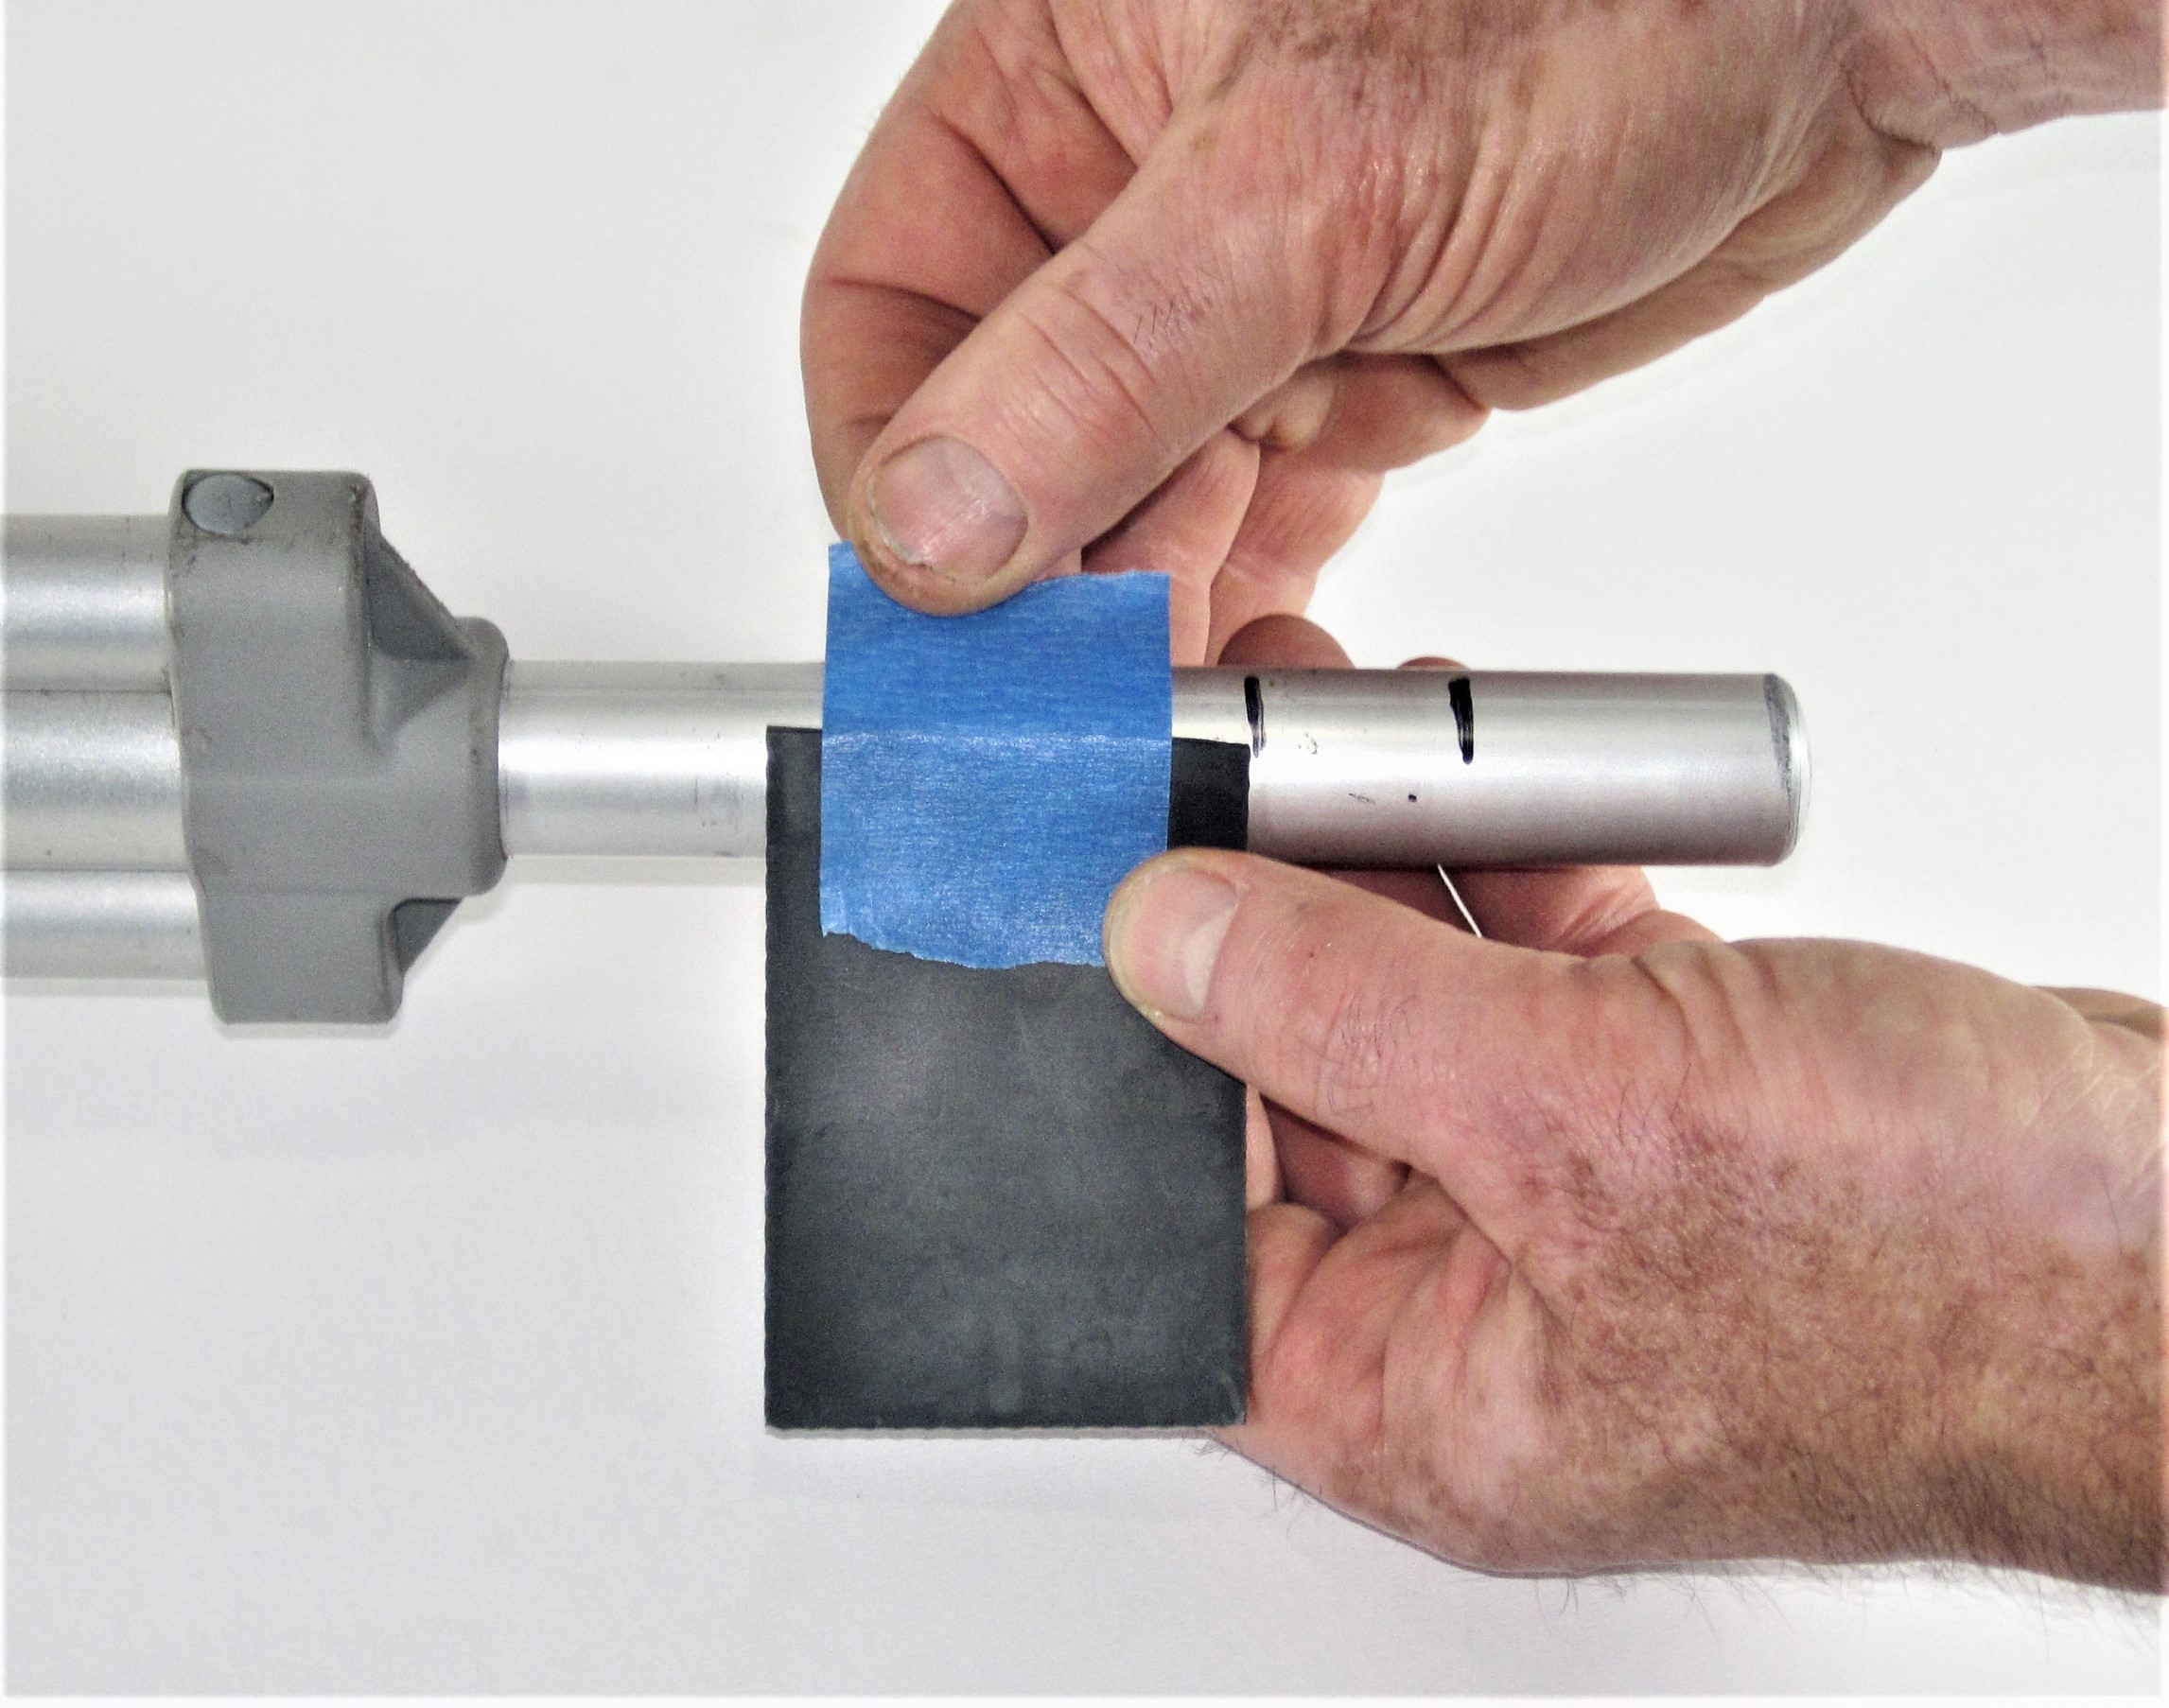
Tape the shim strip onto the walking cane or crutch shaft such that the lower edge is where you want it and the taped edge is in a place where the connector body will not make contact when clamped in place. Please see the cross-section drawings below!
-
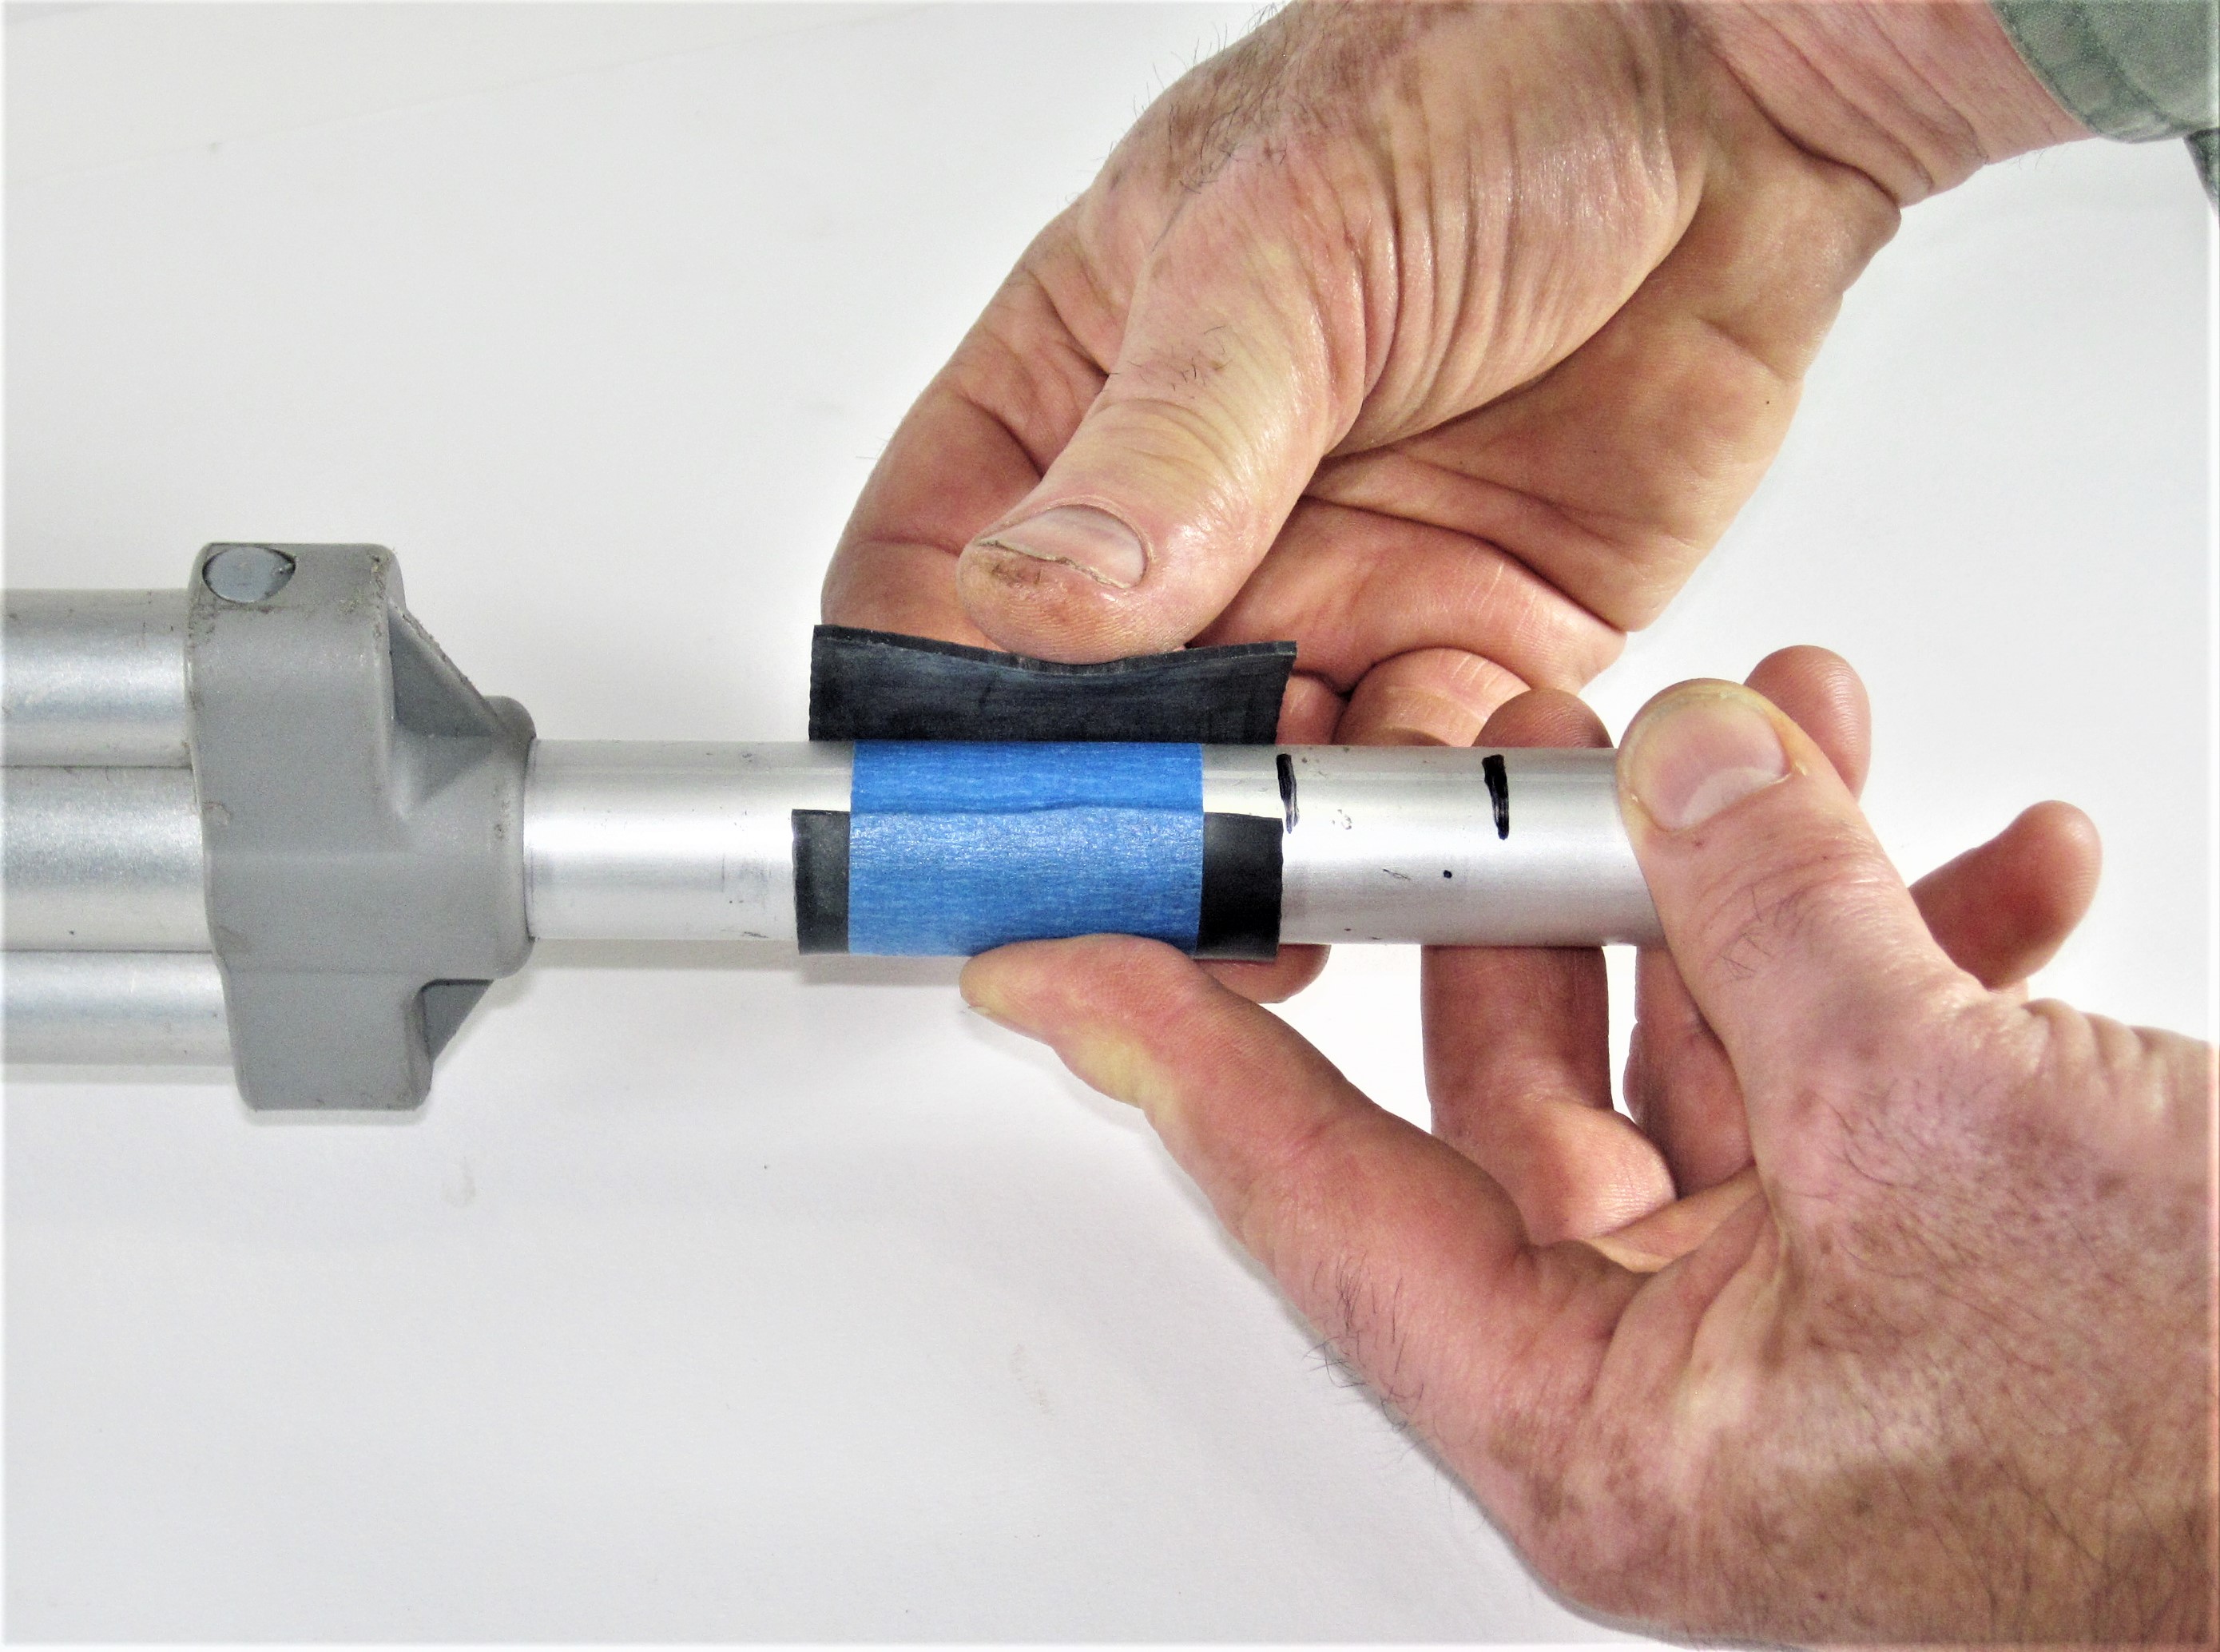
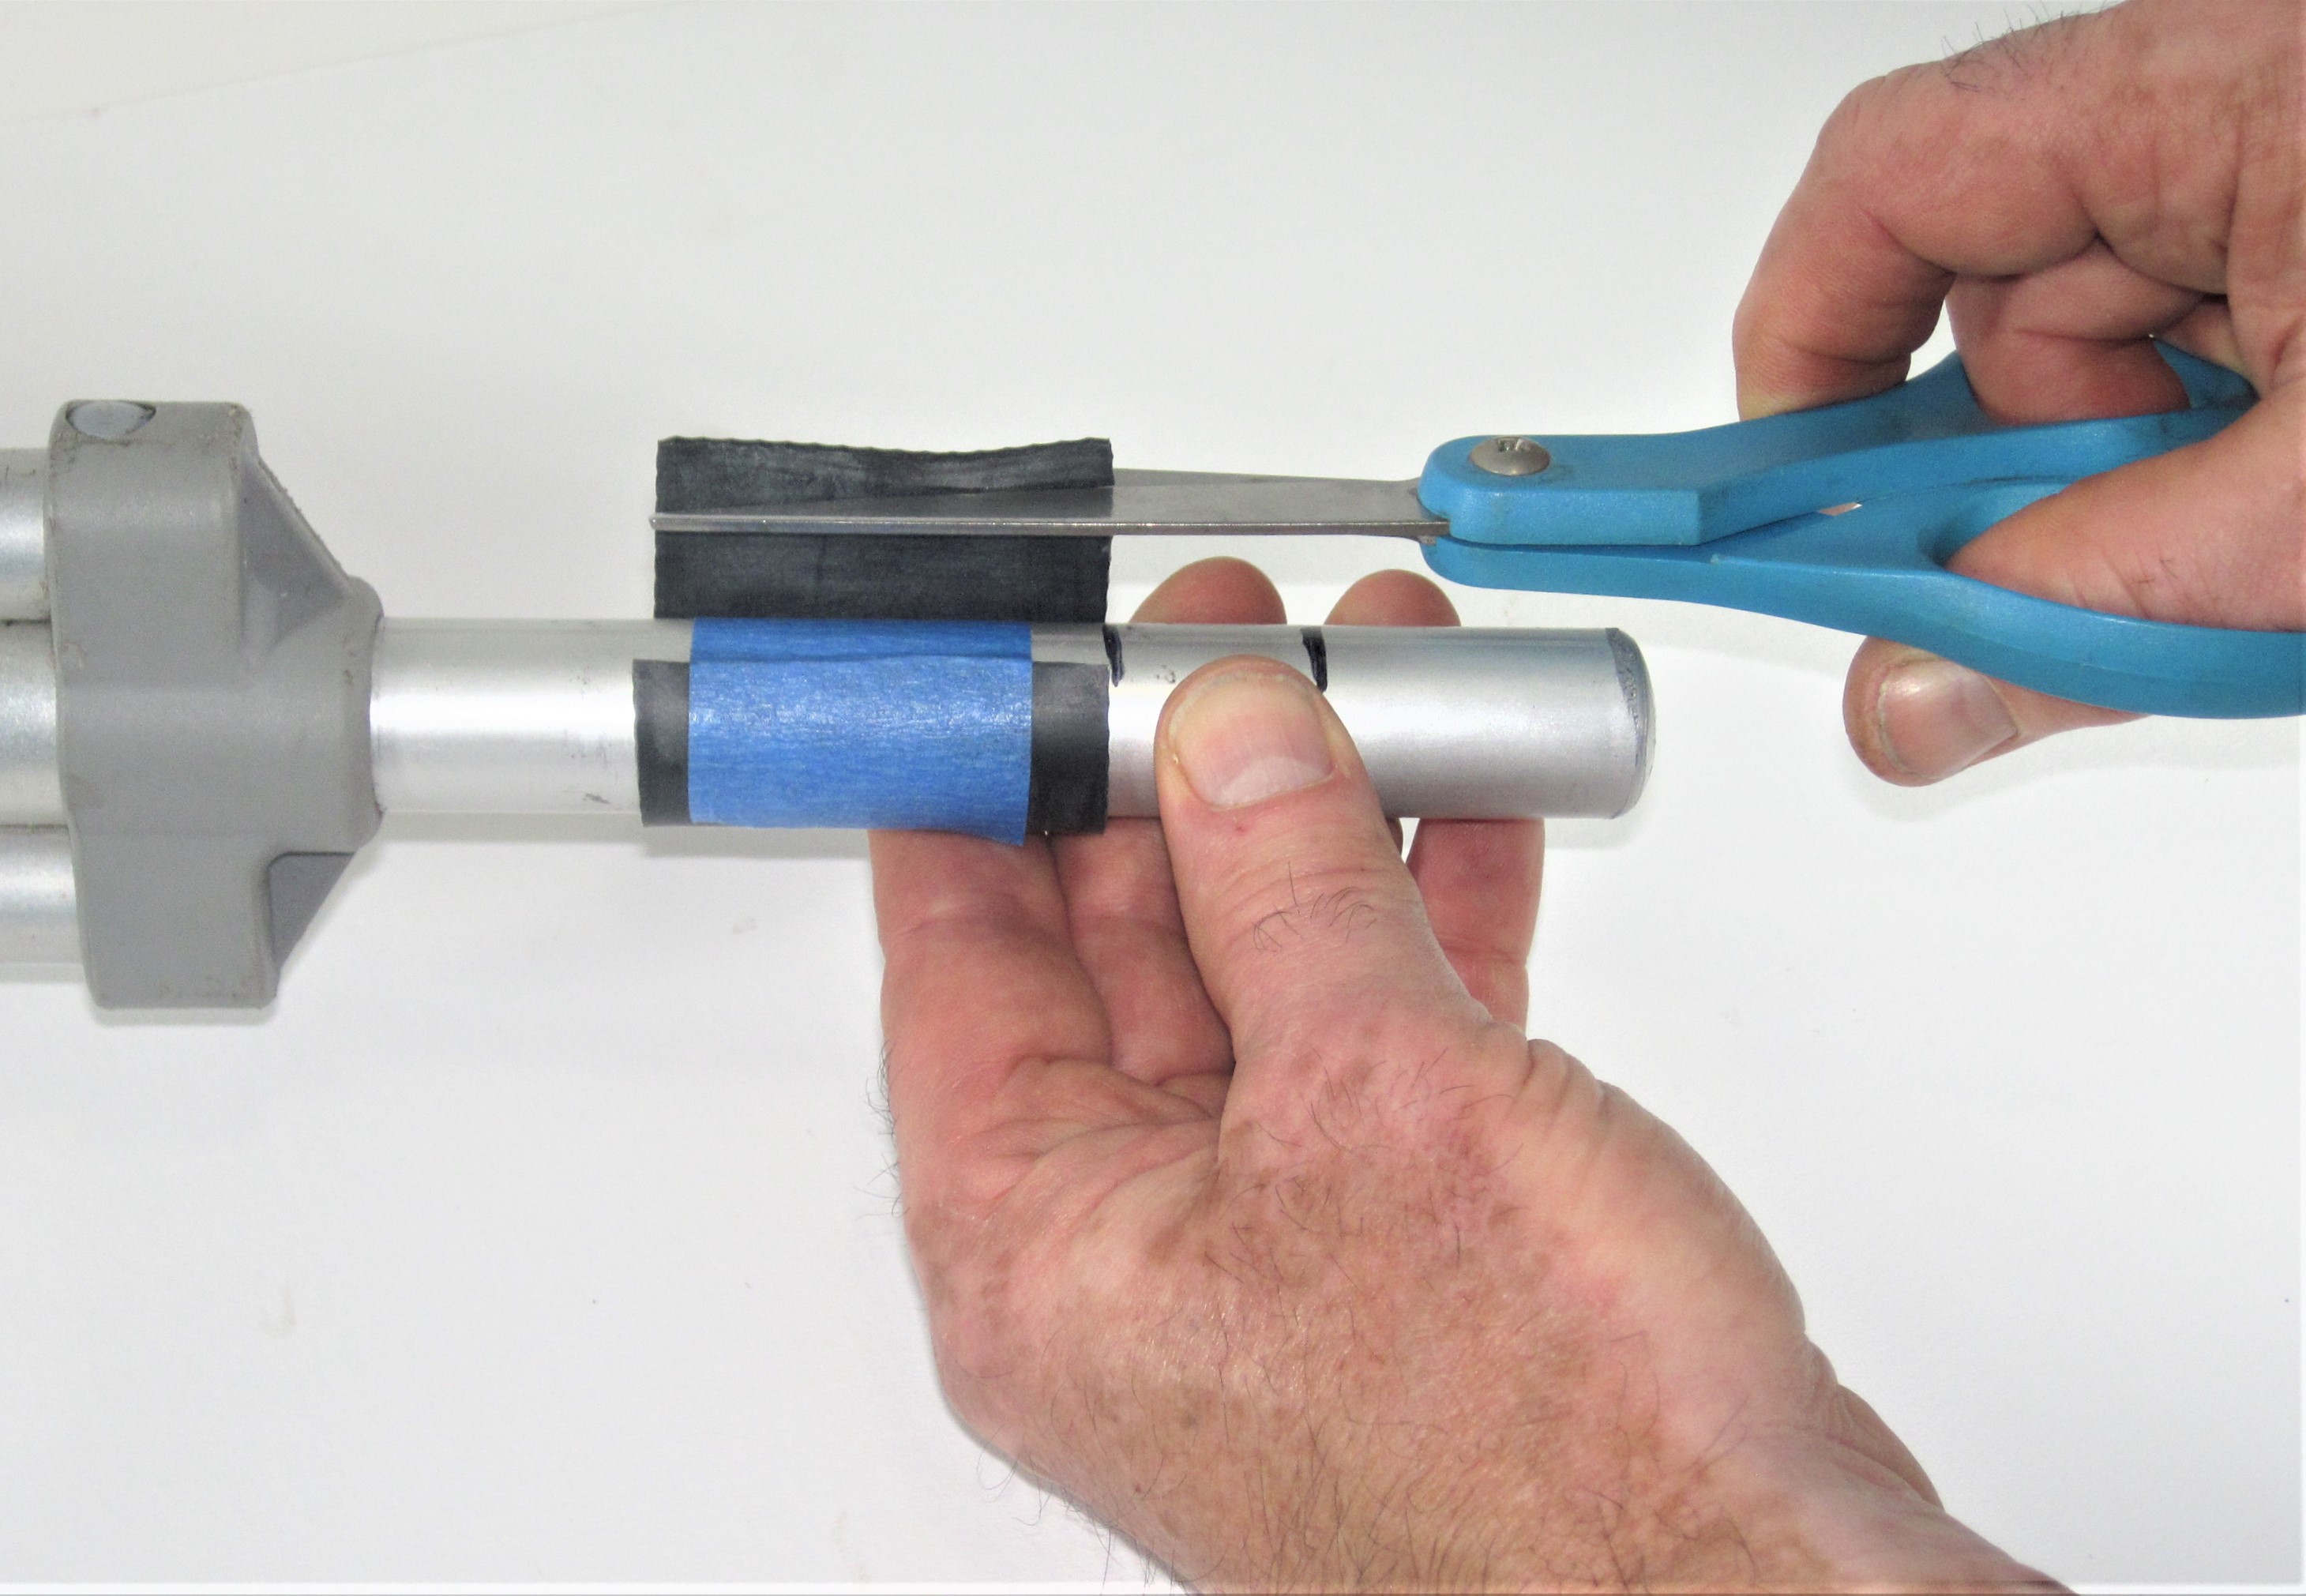
Wrap a shim strip around the walking cane or crutch shaft. The shim strip will want to overlap itself a little bit. This is not good. The shim strip needs to be trimmed slightly.
-
Trim the shim strip to form a roughly 1/8 to 1/4 inch gap.
-
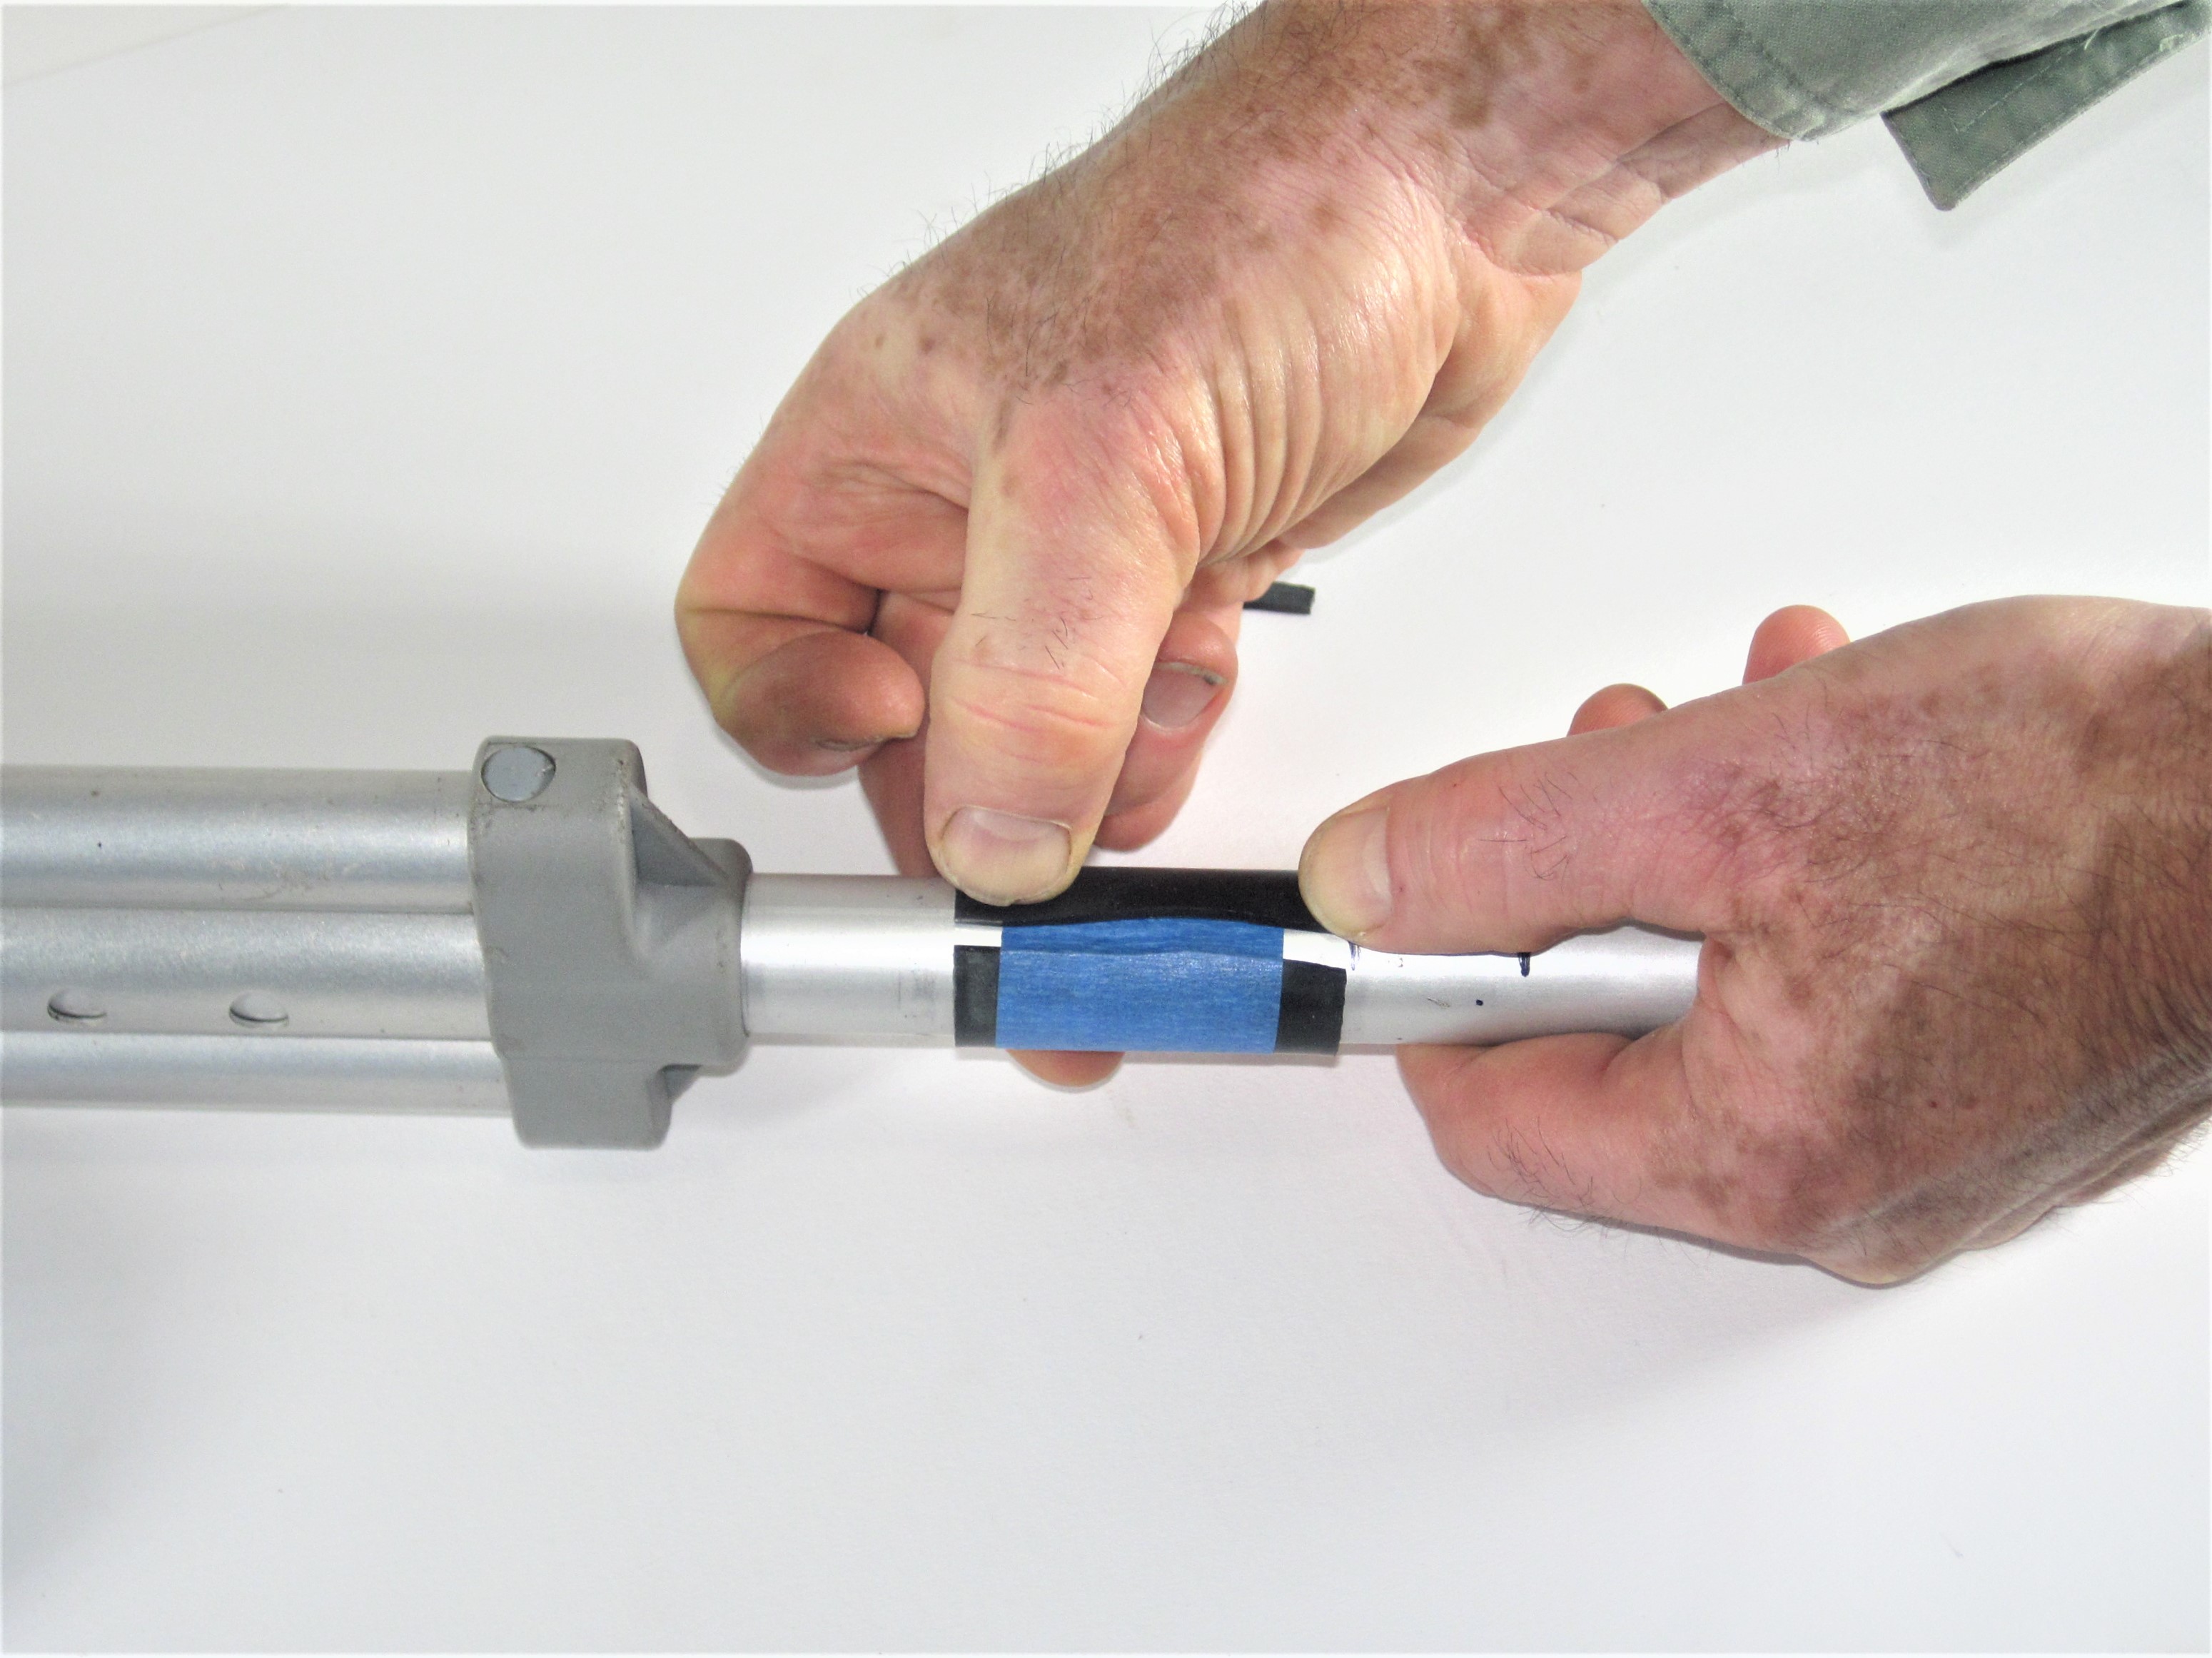
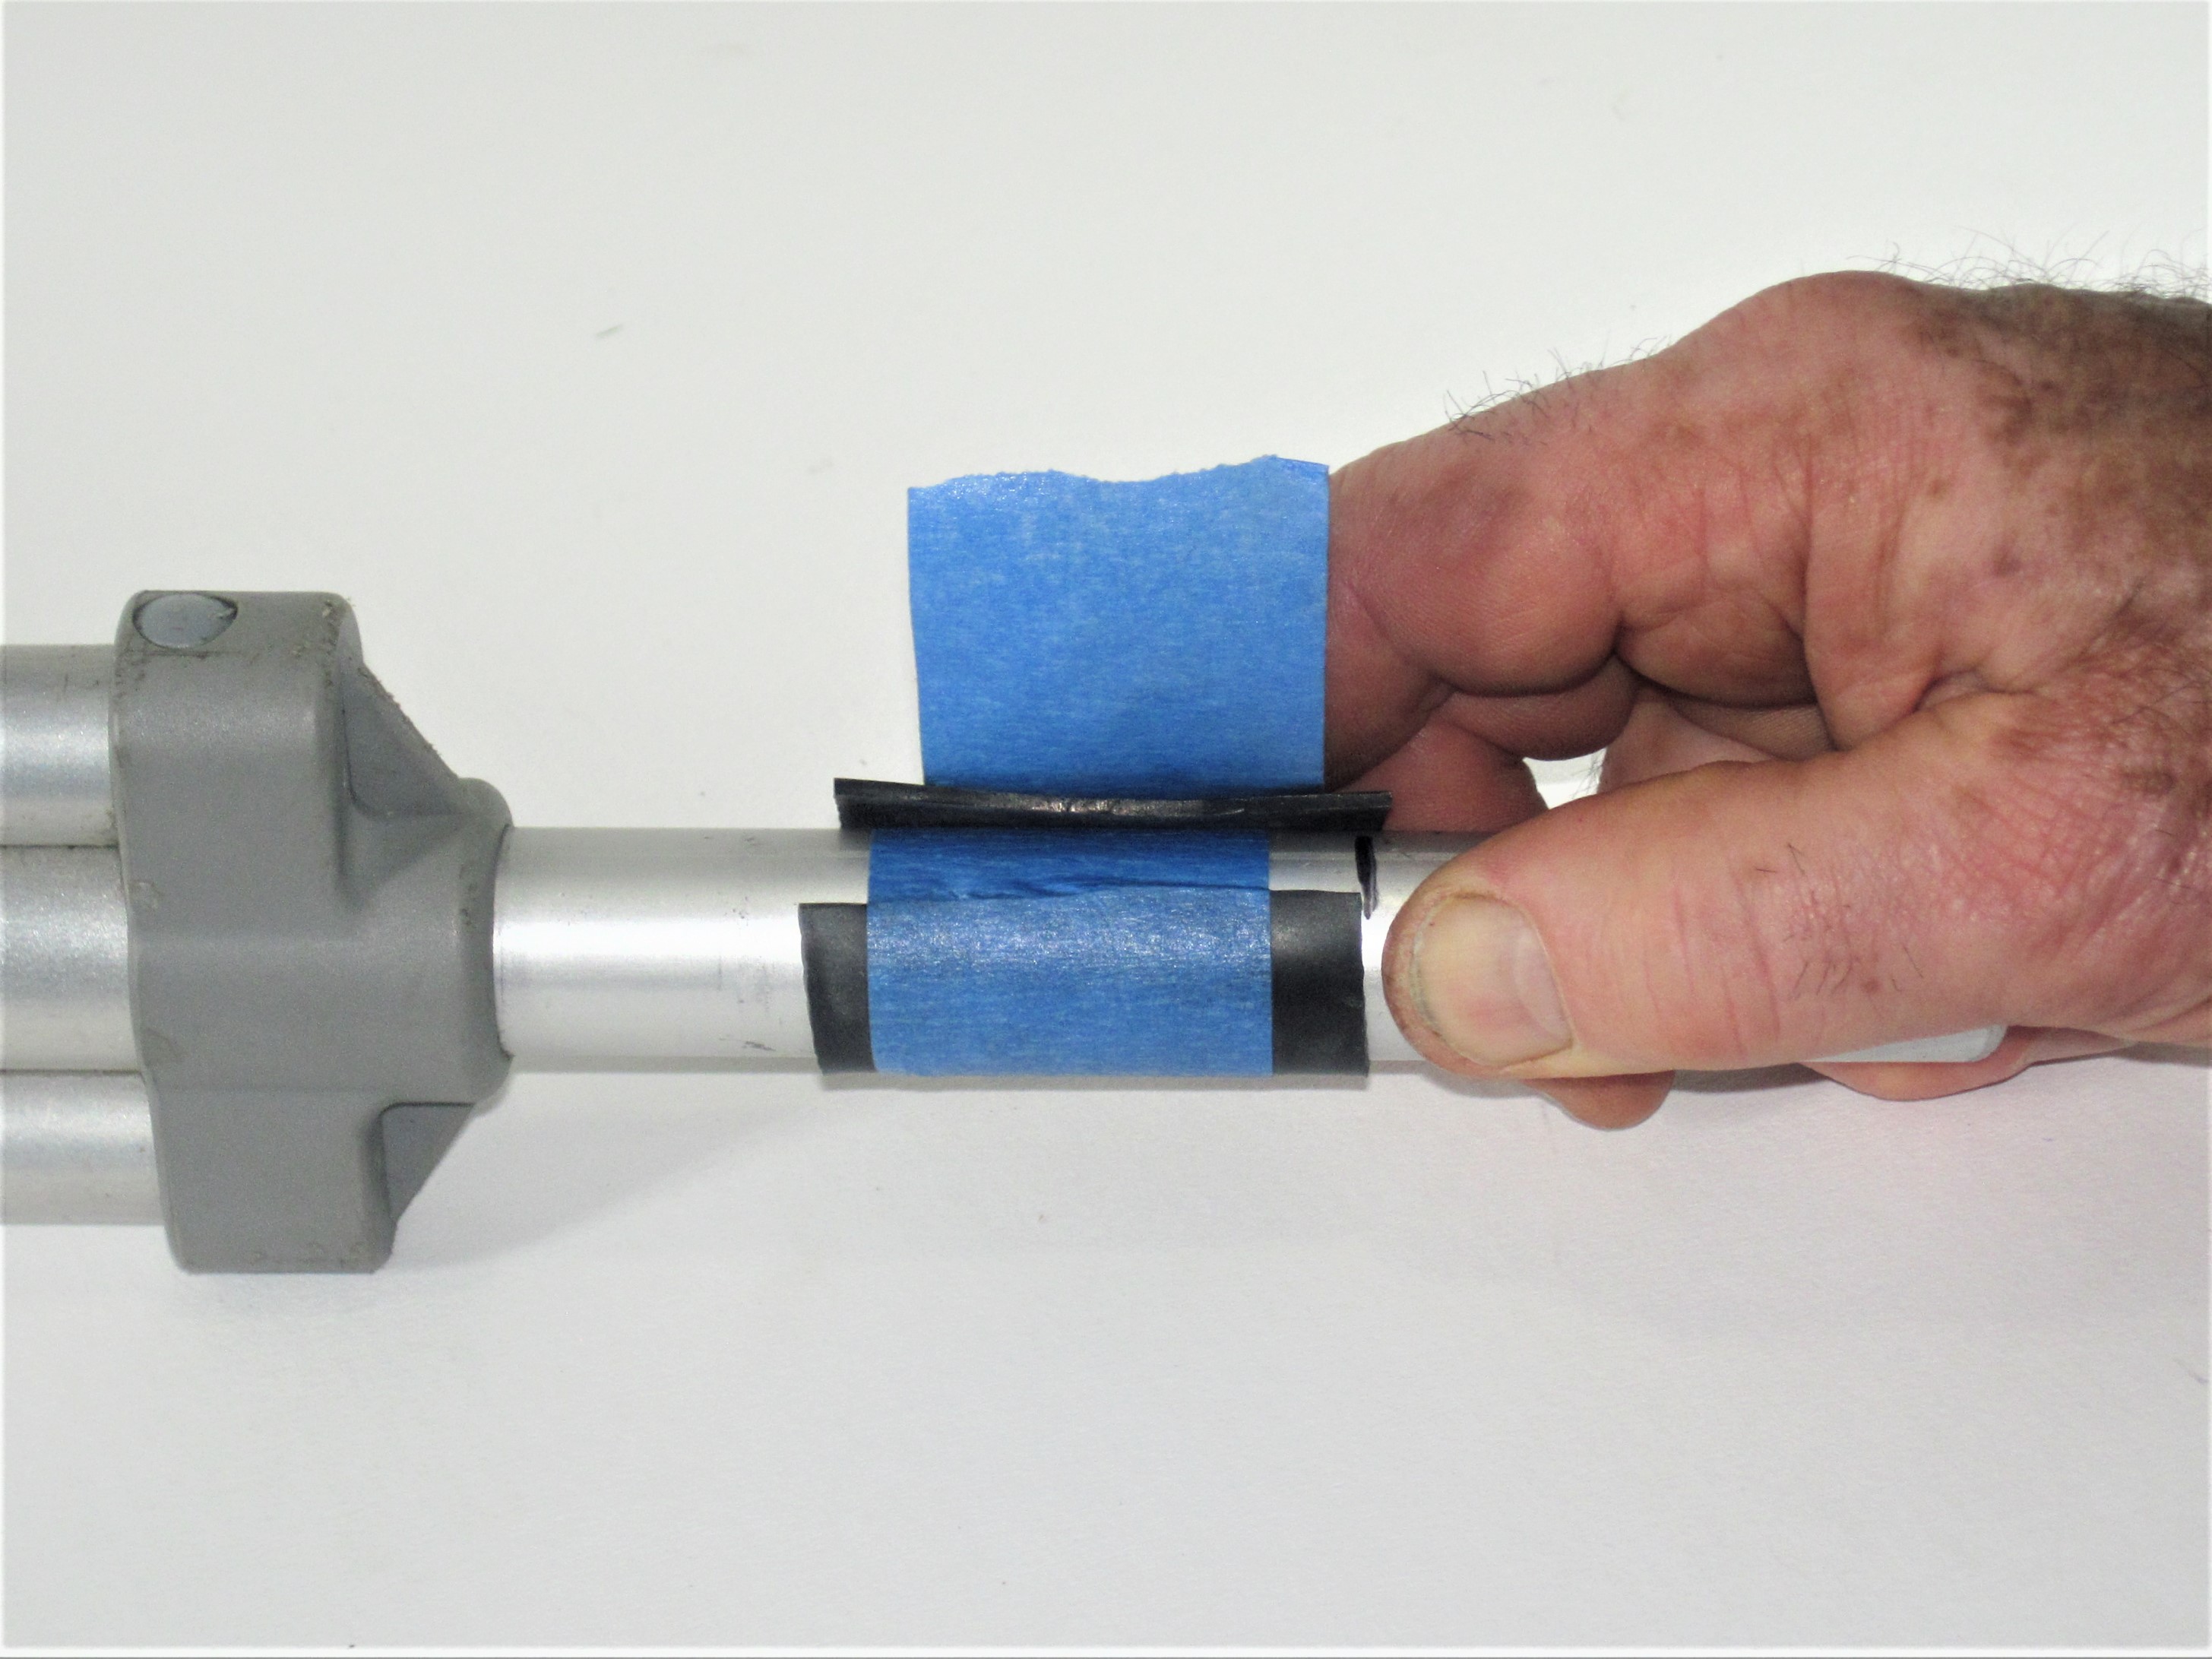
The figure shows how a trimmed shim strip should look when fitted to the cane or crutch..
-
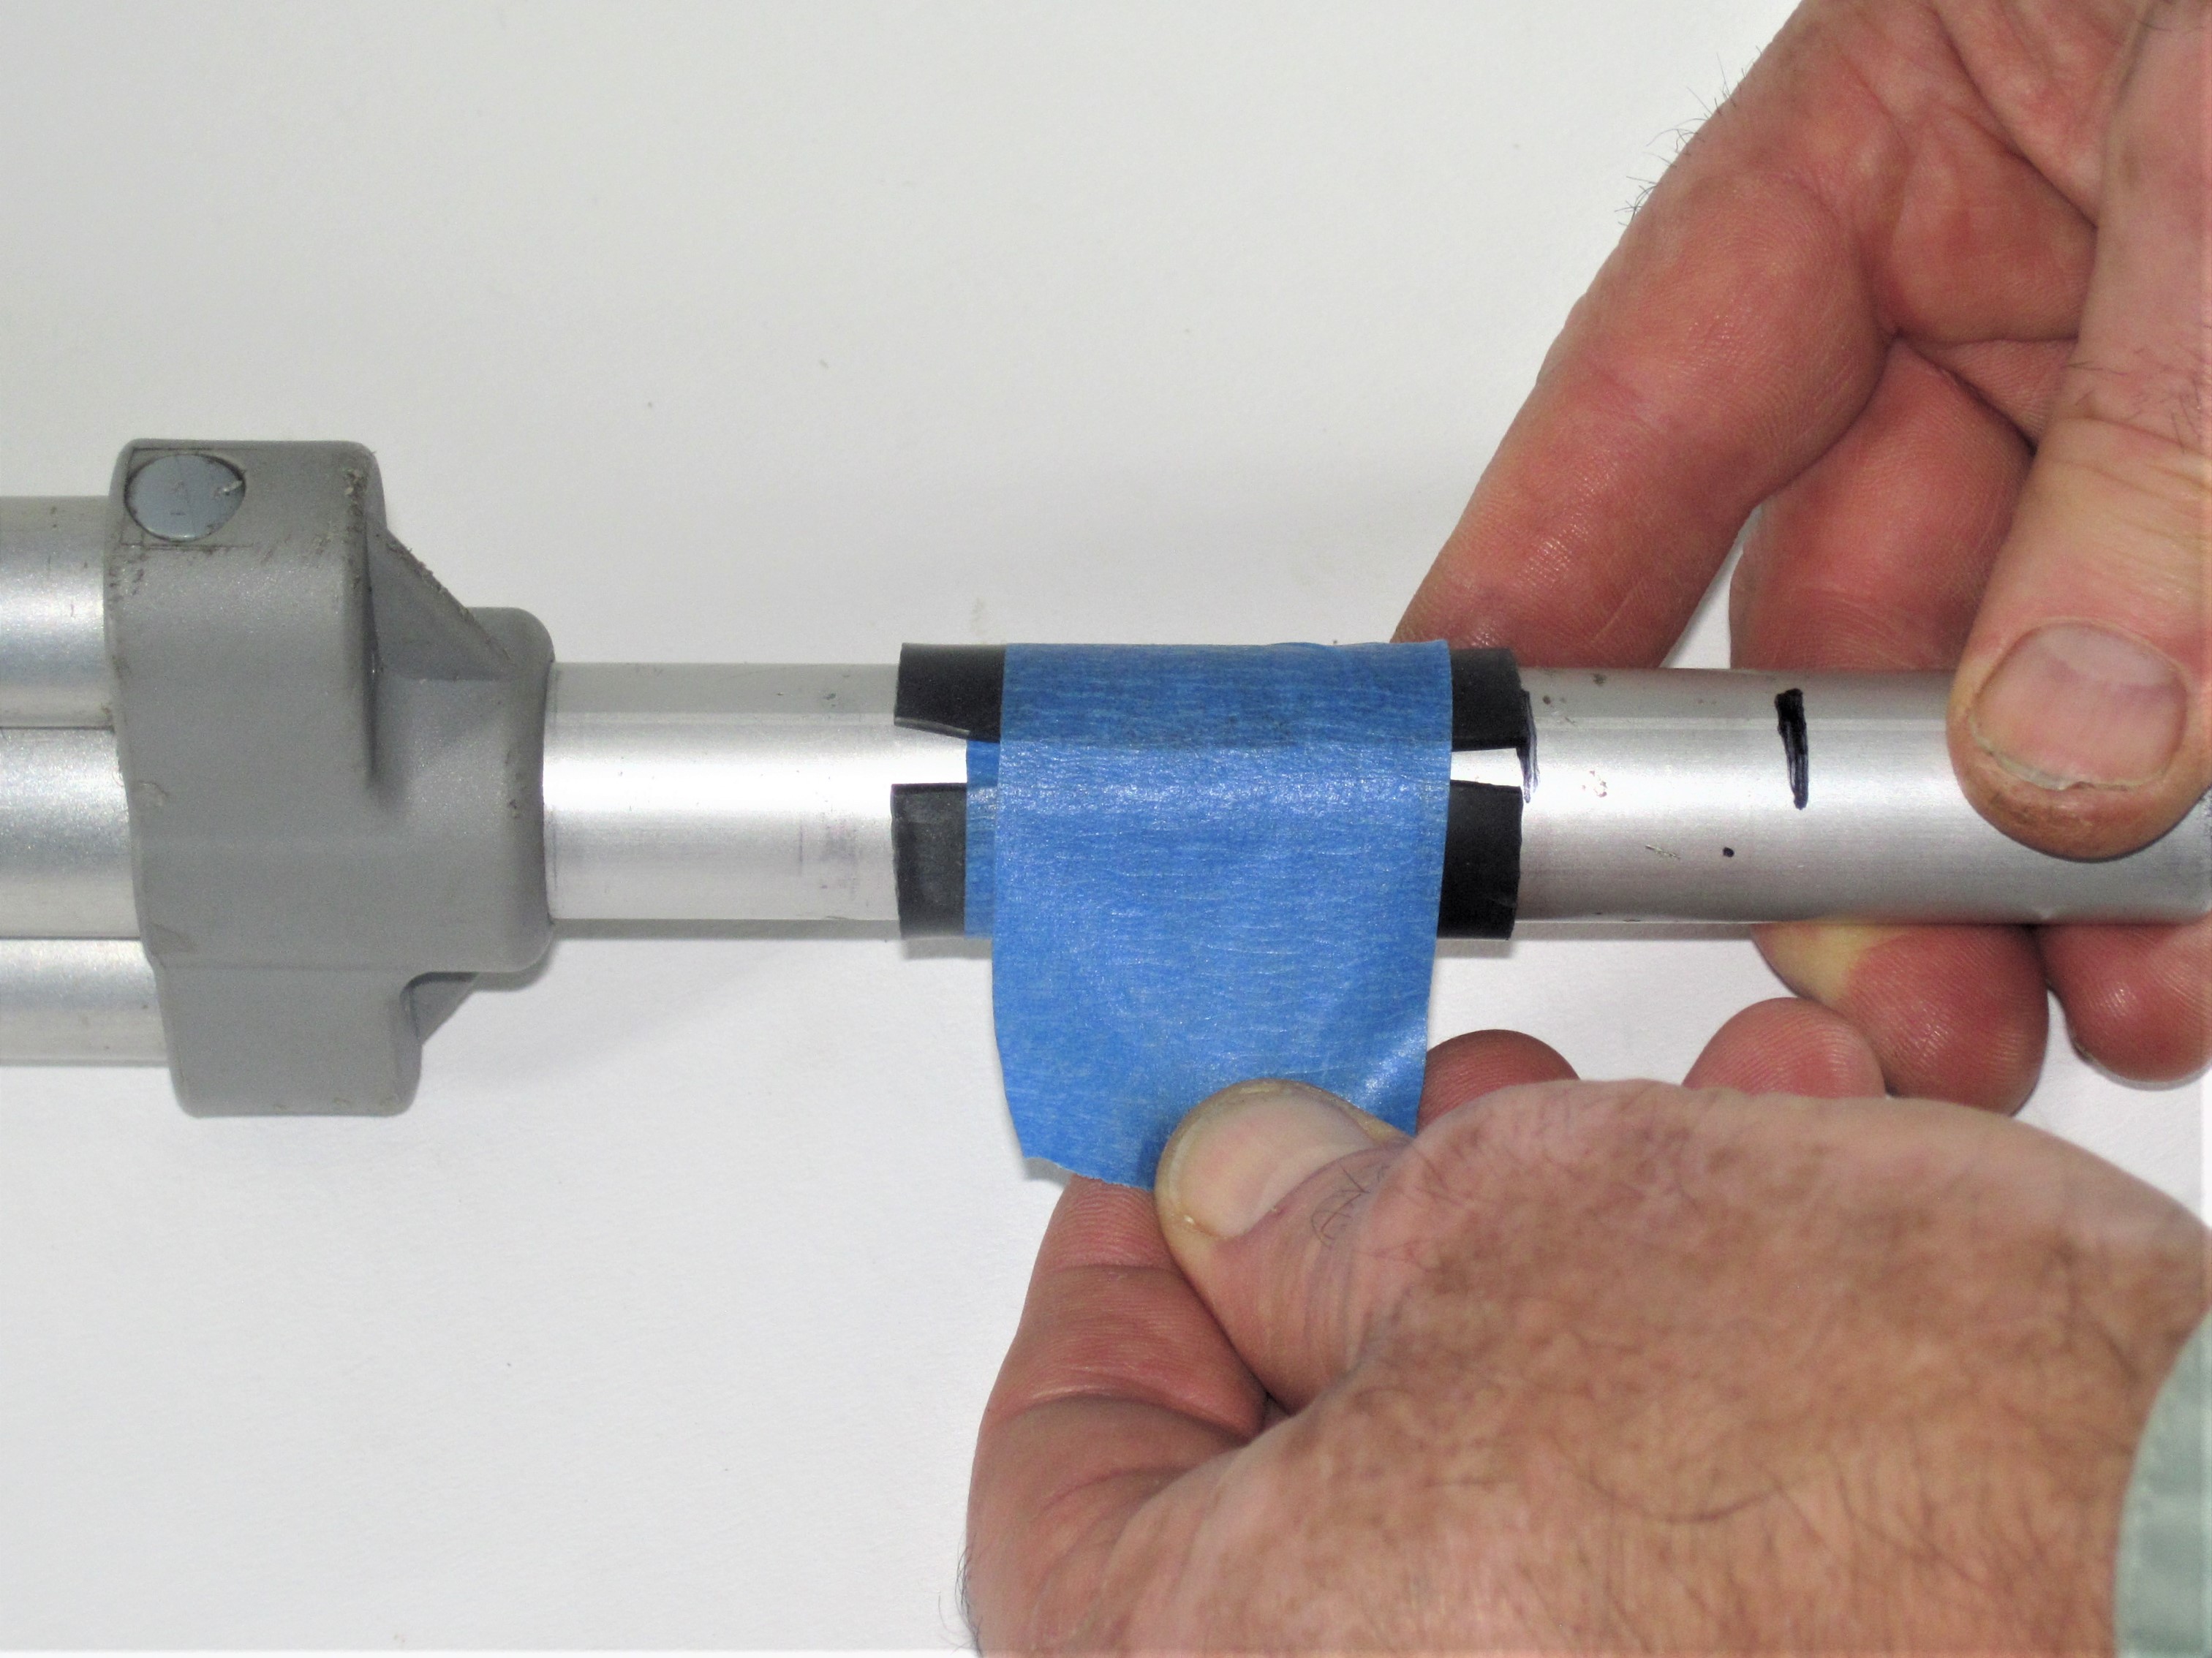
Use another piece of houshold tape to secure the shim strip firmly into position on the crutch or walking cane shaft.
-
Check to makes sure the shim strip(s) are properly positioned on the crutch or walking cane shaft. If not, no problem. It doesn't take long to make adjustments.
-
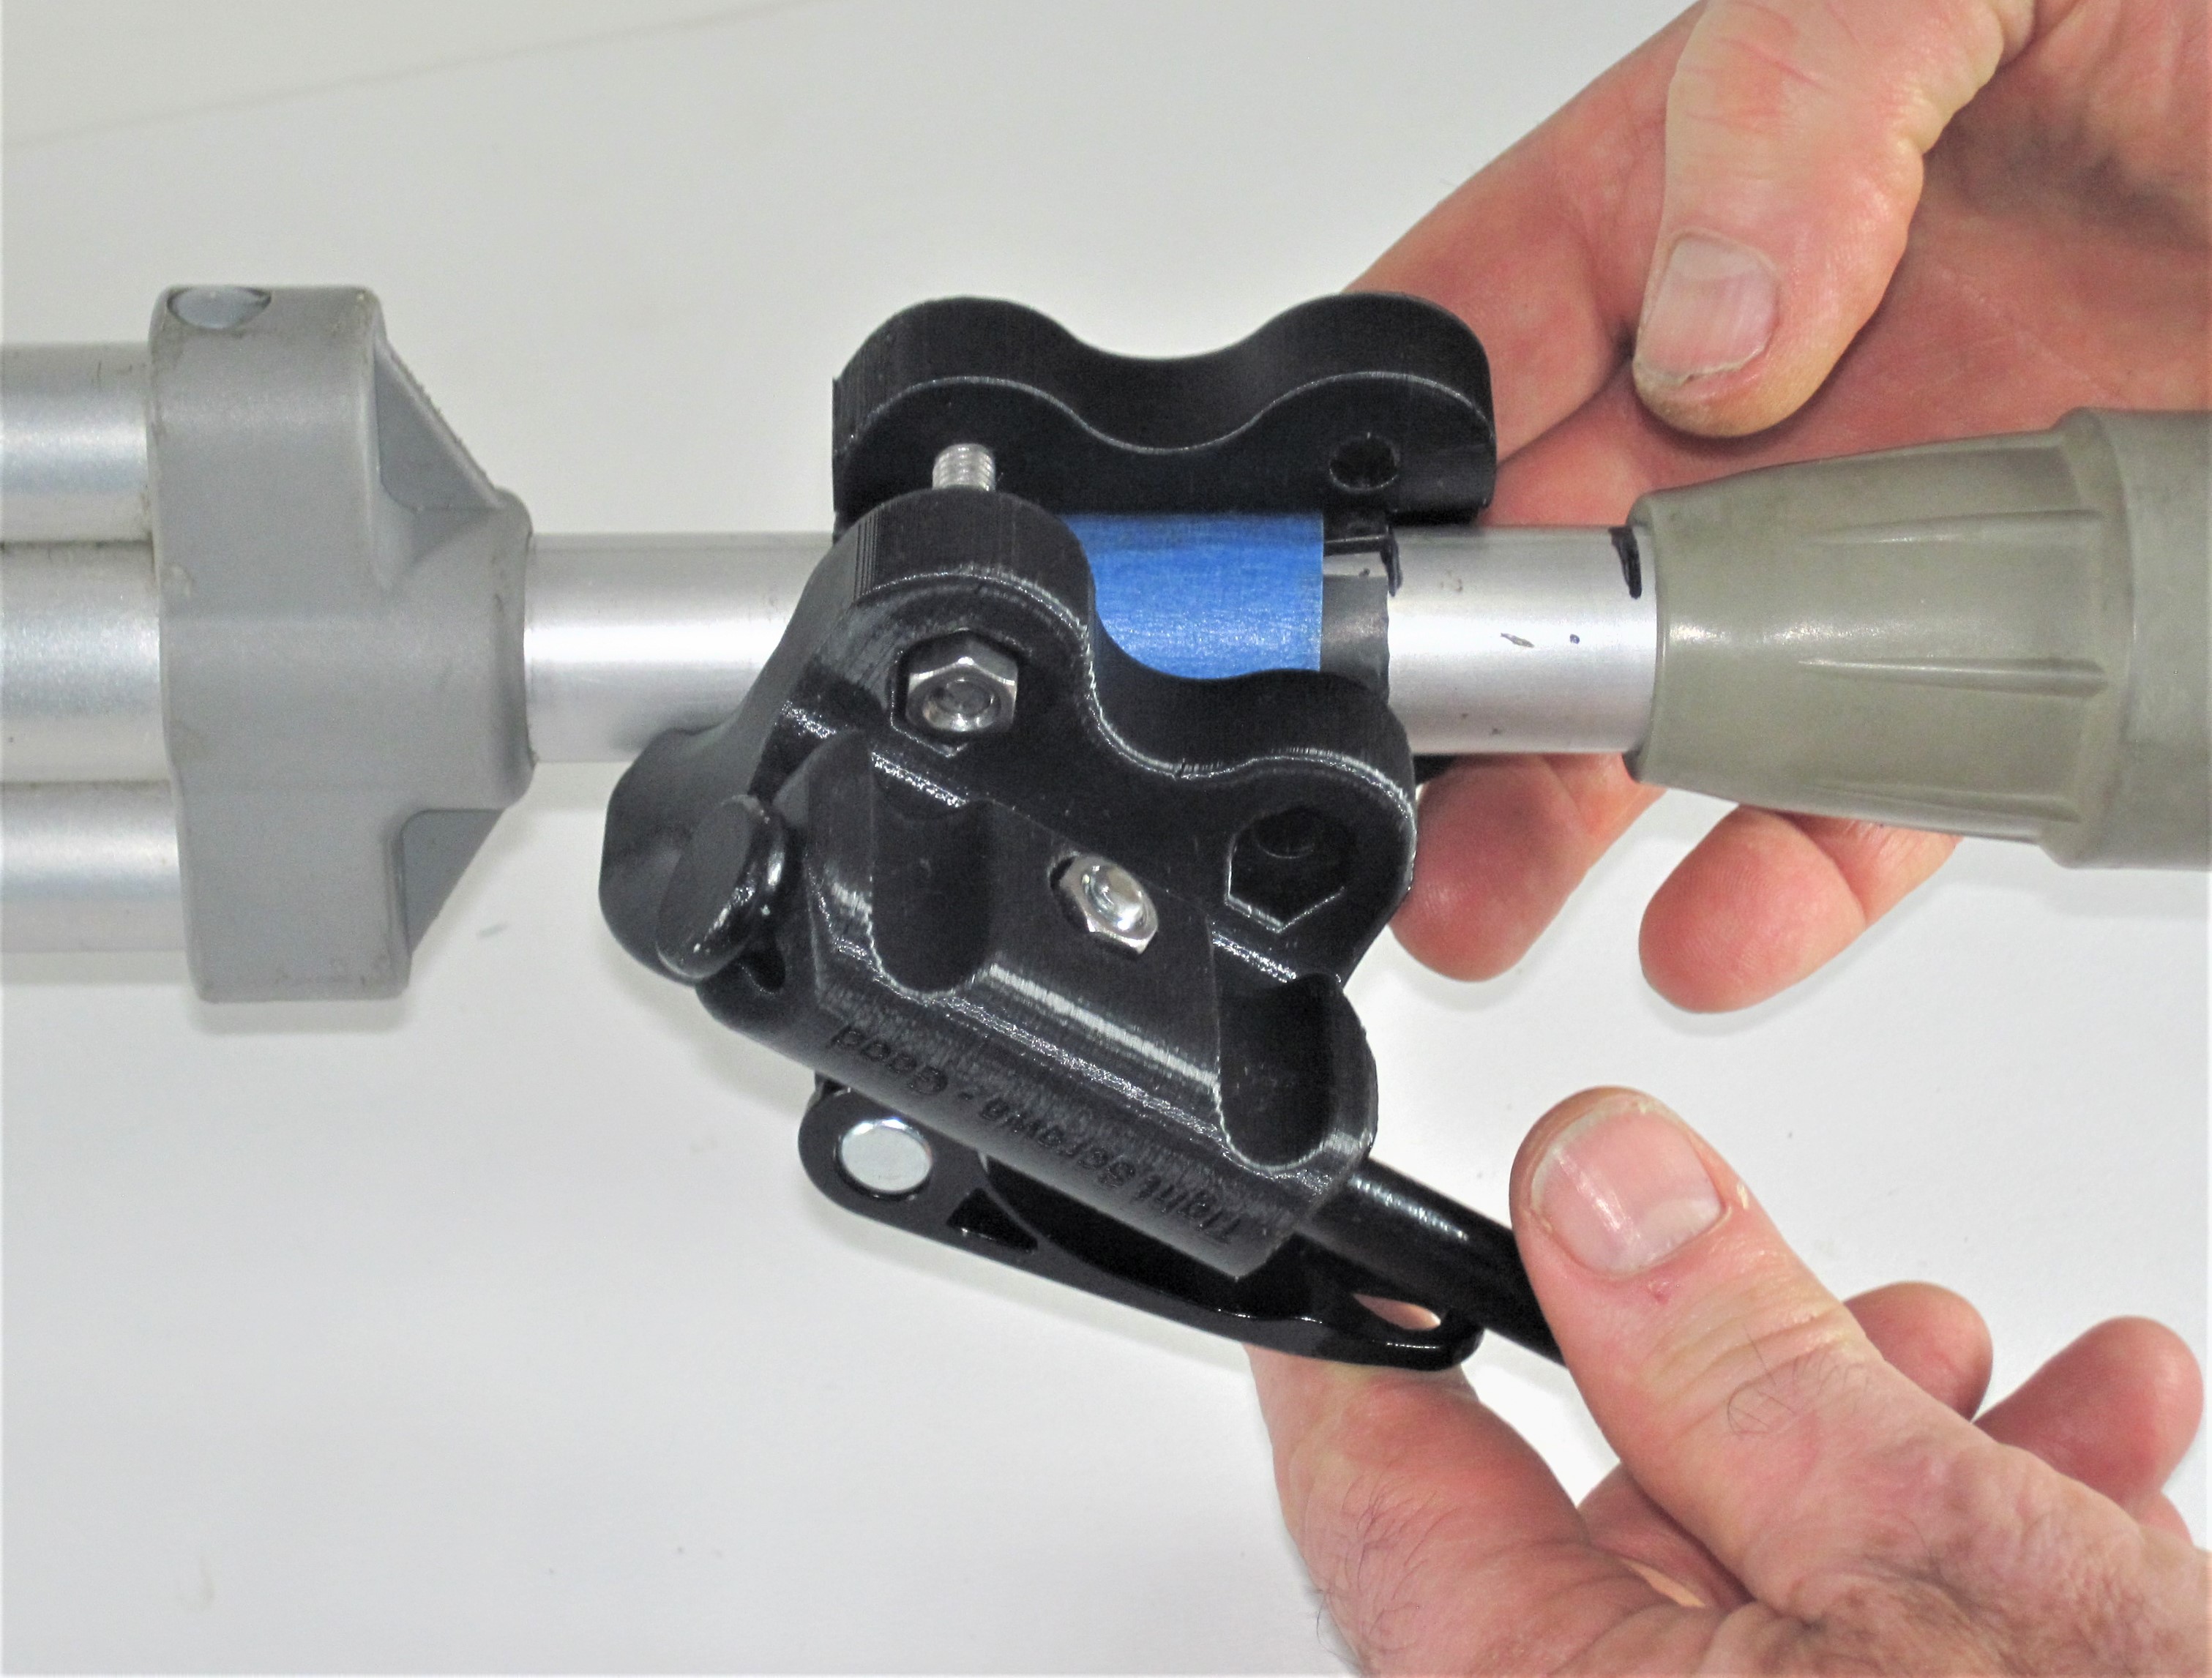
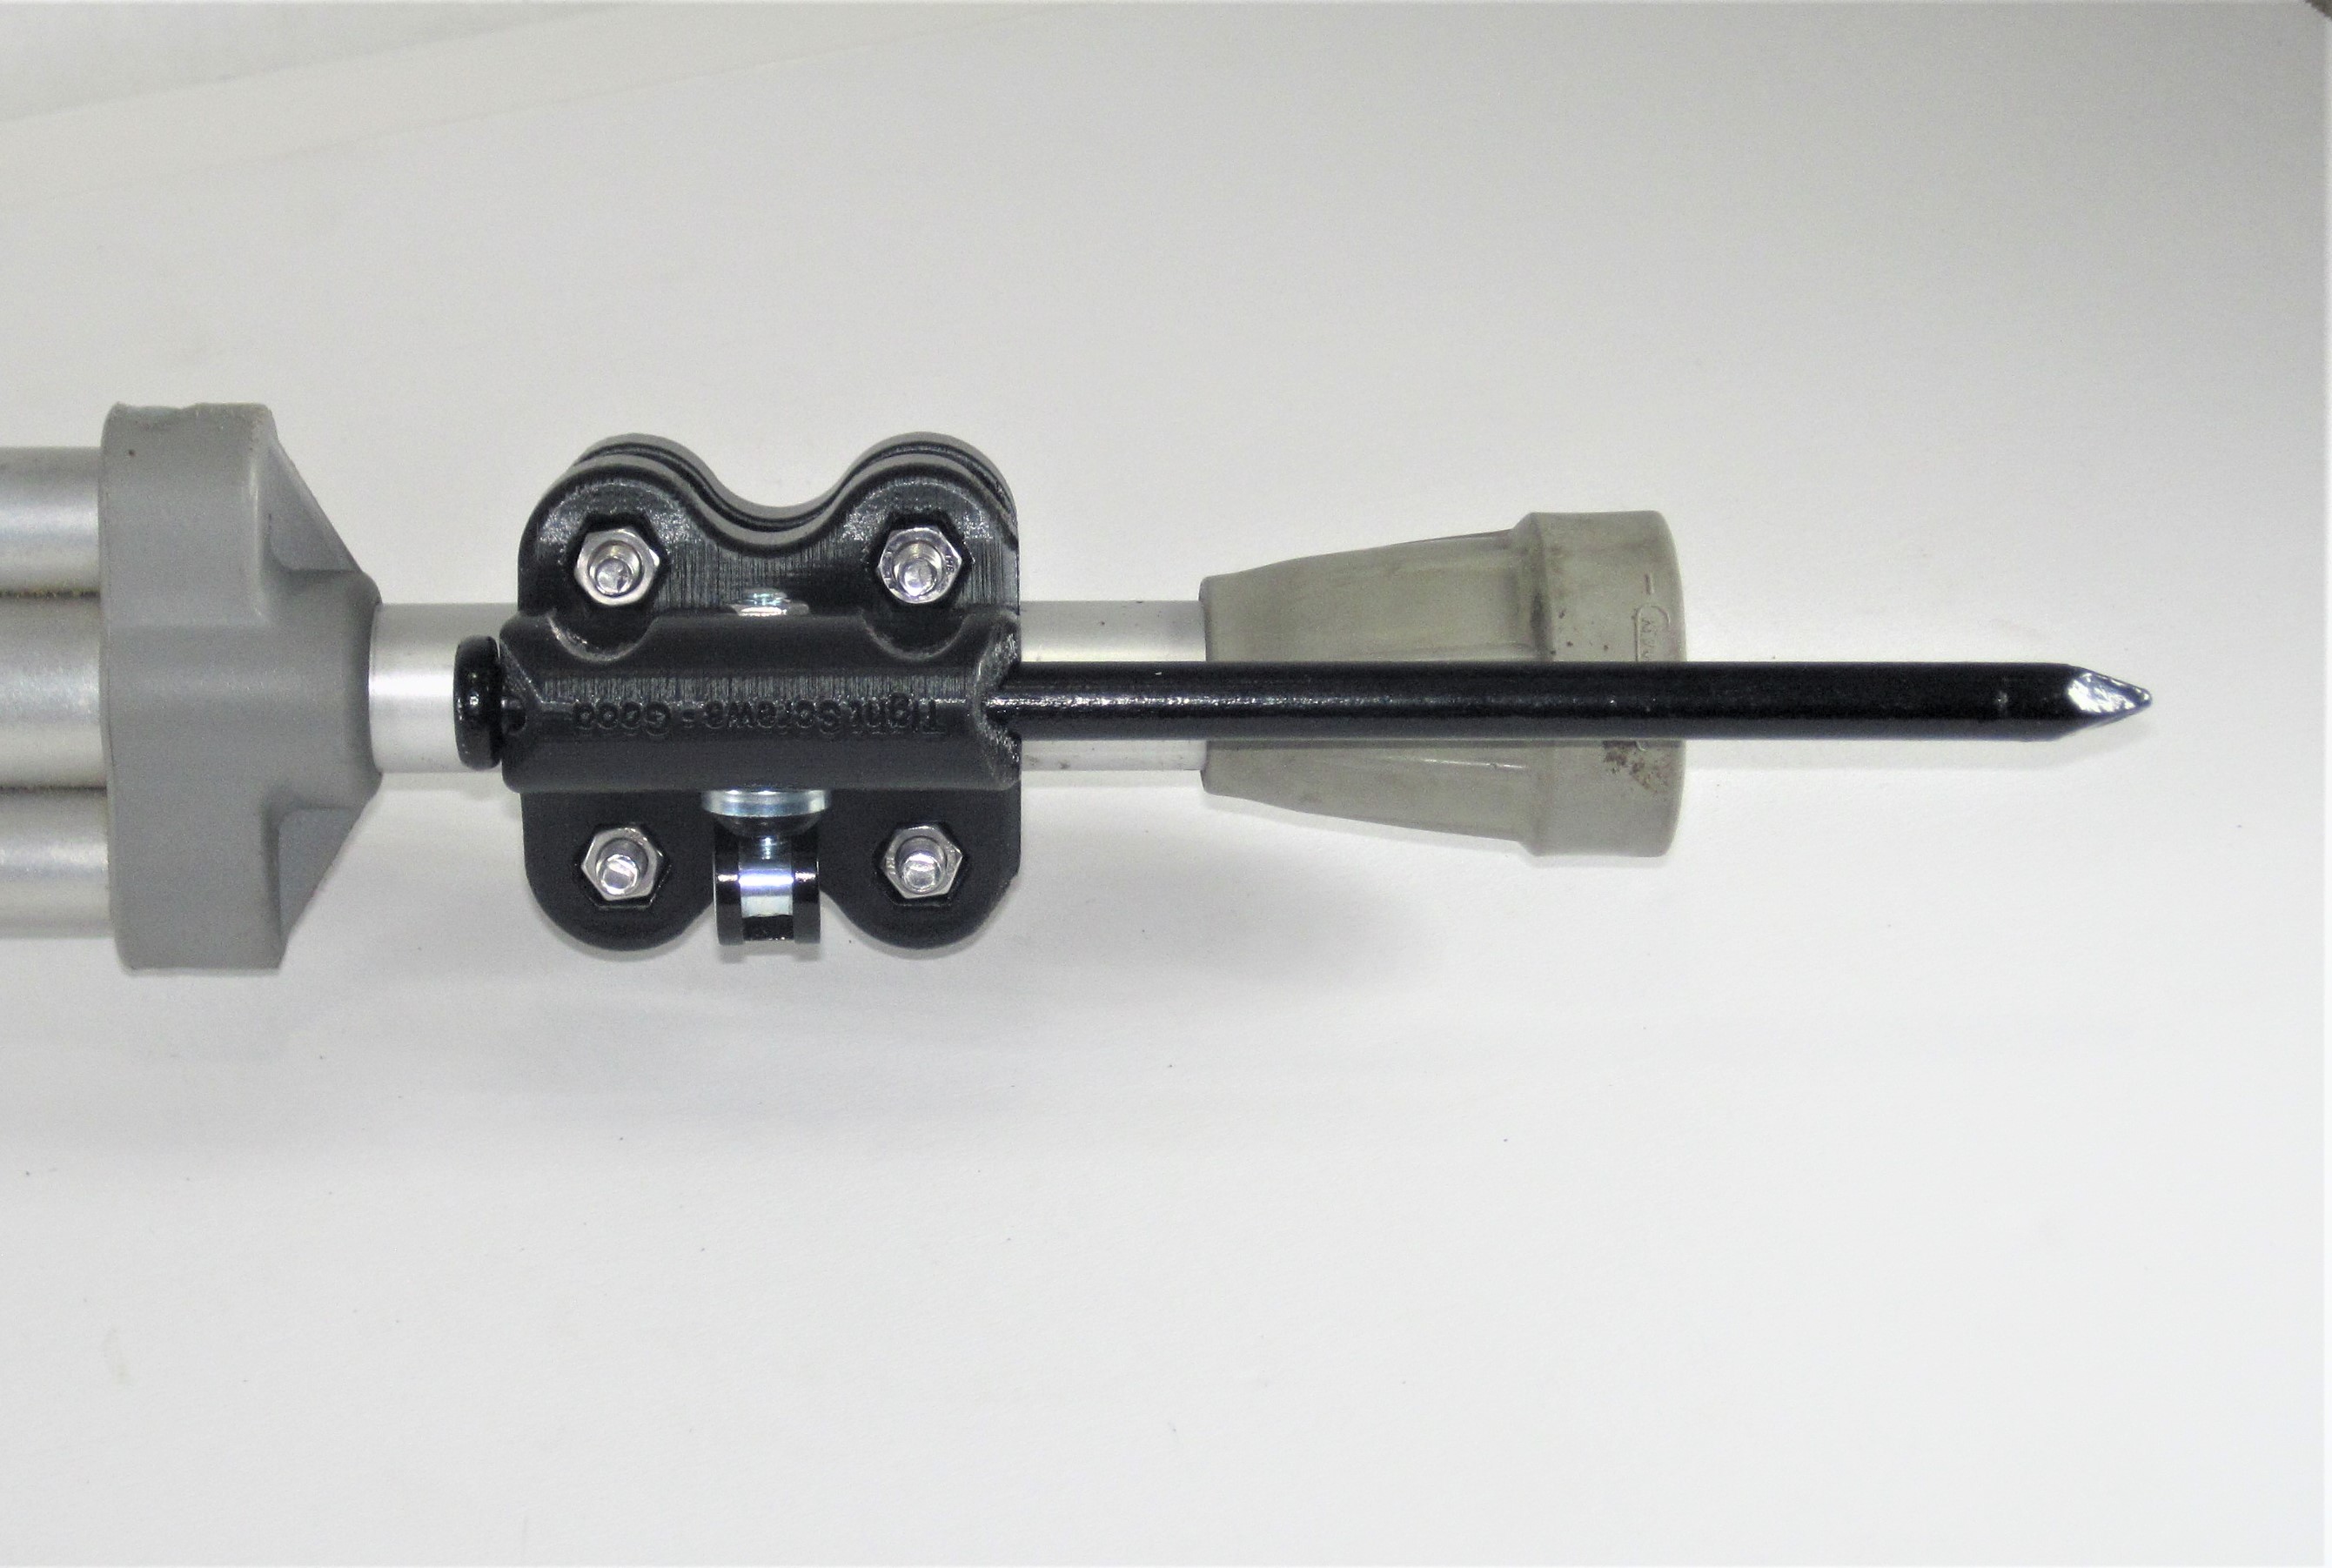
If you are installing a Model 1, slide the Super Traction SafeTipTM assembly over the end of the walking aid shaft. If you are installing a Model 2, with one nut and screw loosely attached, place the Super Traction SafeTipTM assembly over the lower part of the walking aid shaft.
-
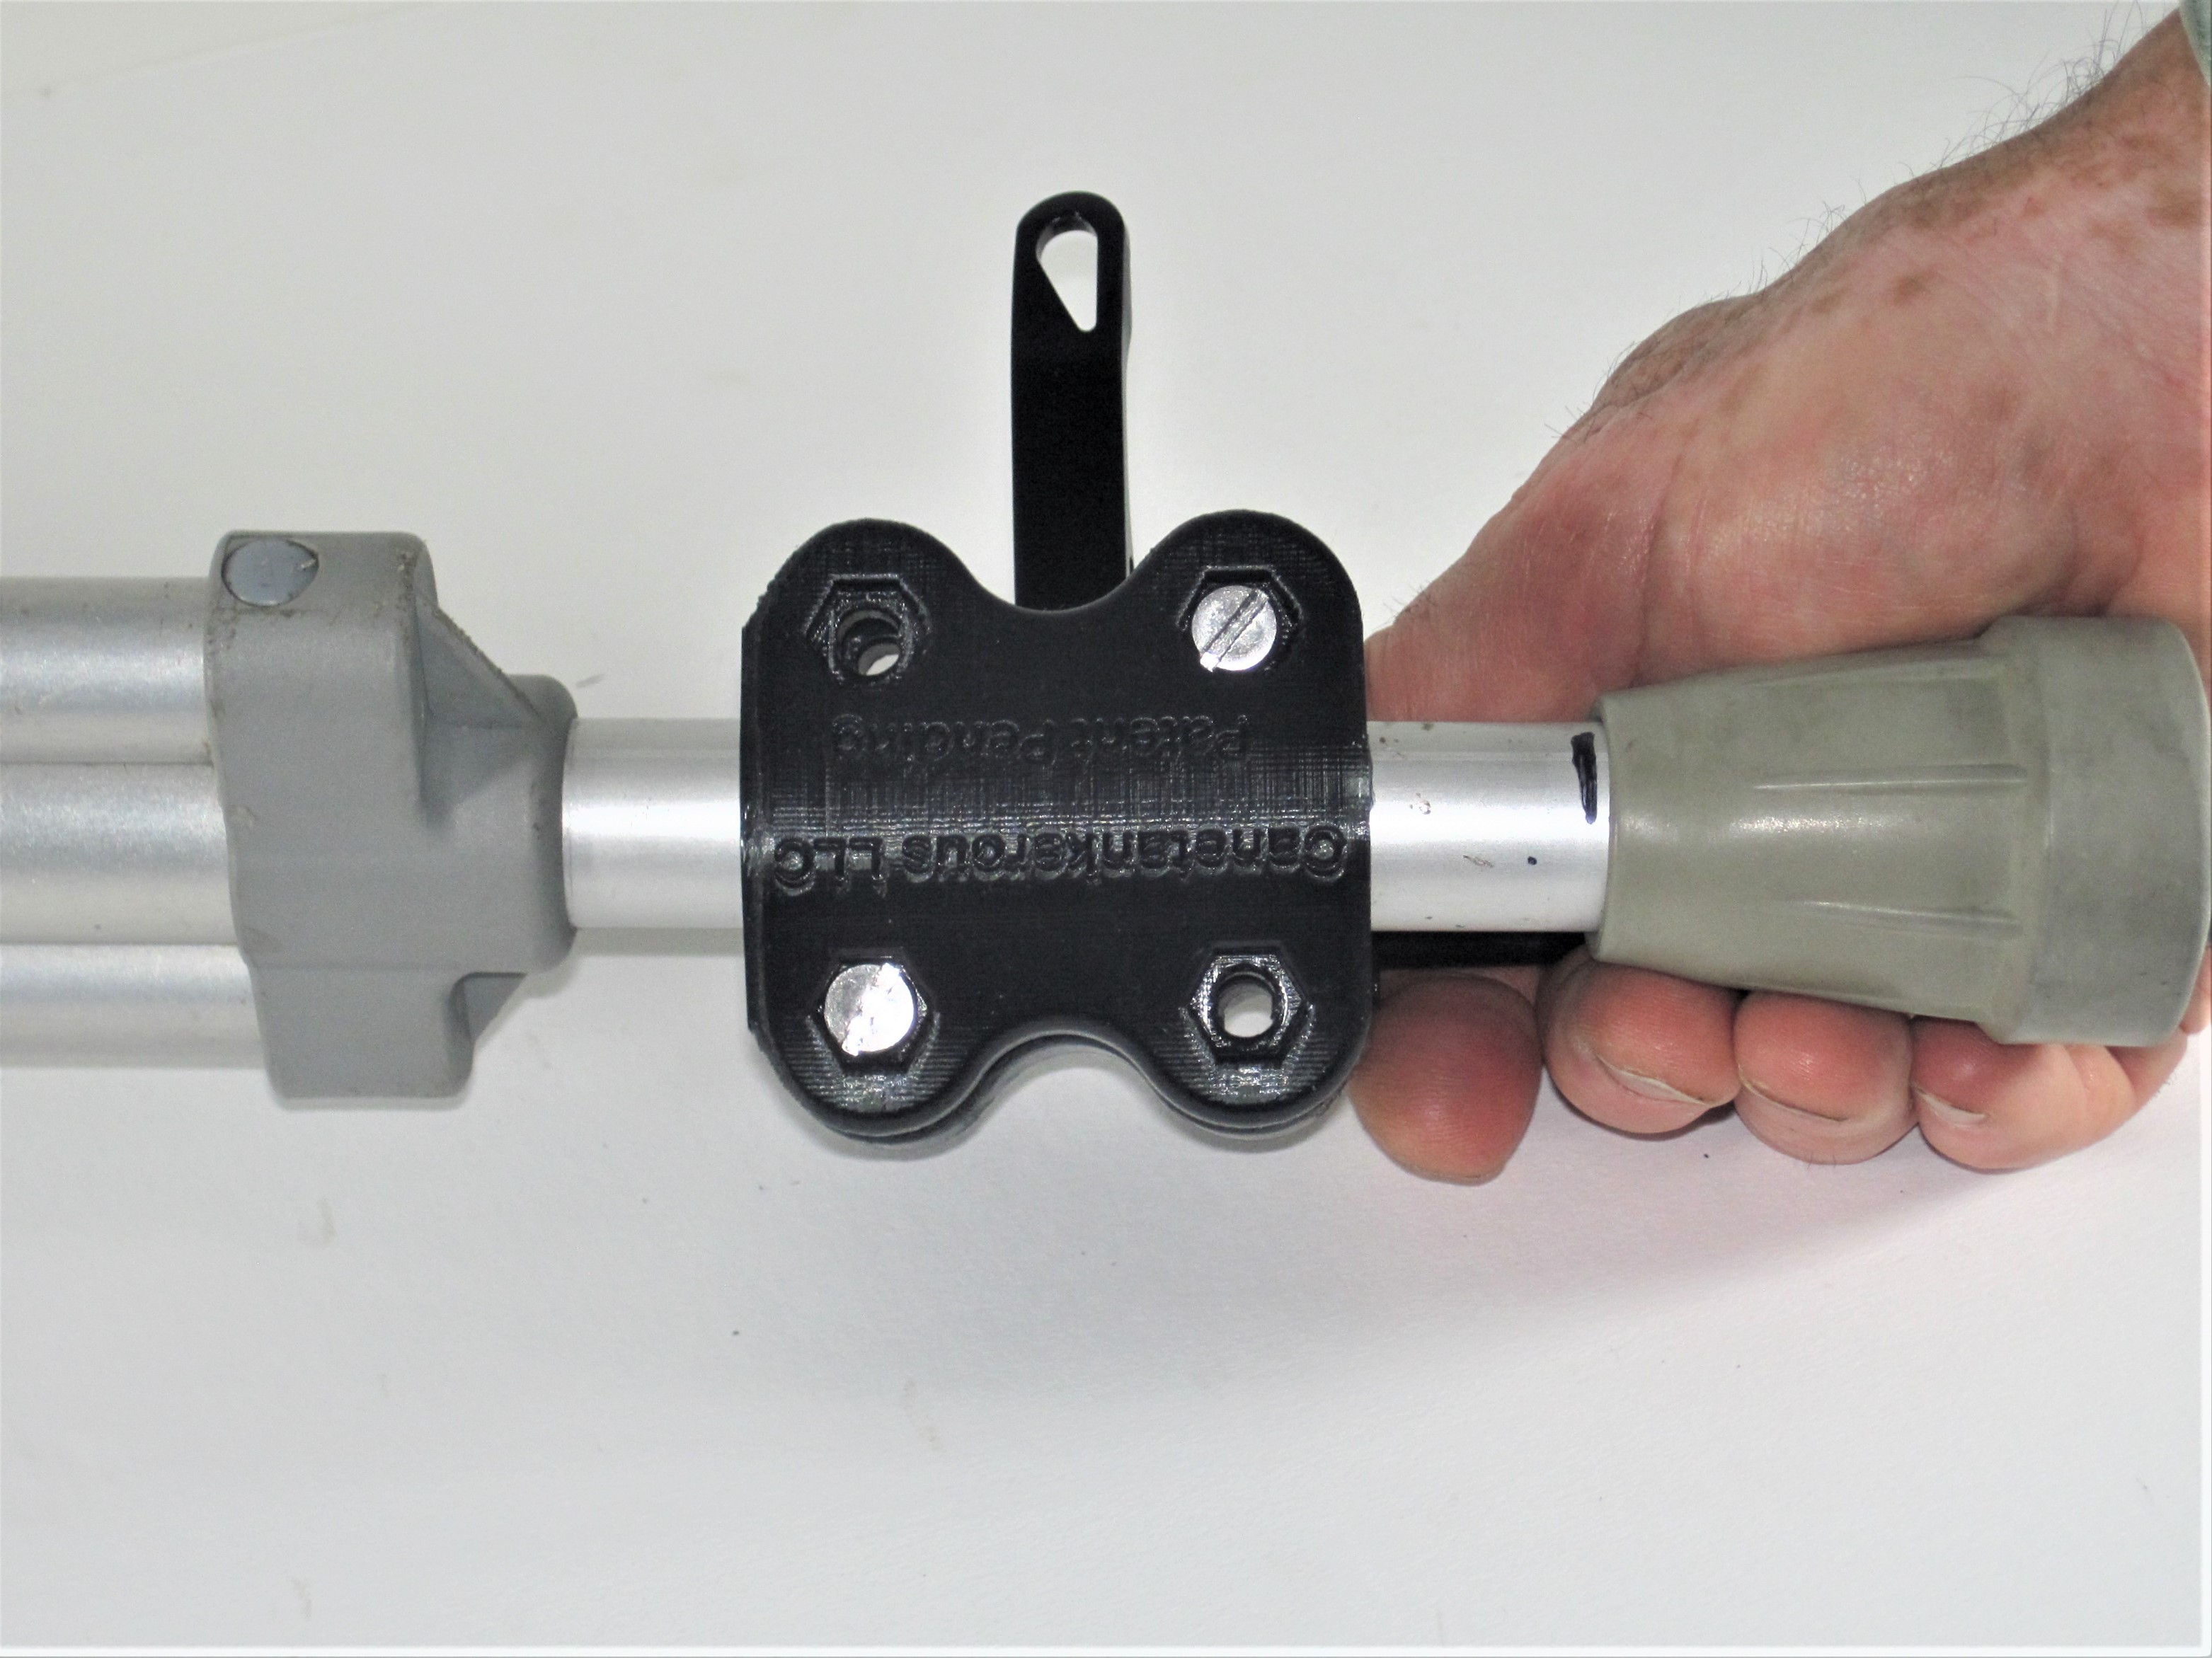
Using a standard household flat blade screwdriver, gradually tighten the clamping screws. Alternate kitty-corner and end-to-end (just like car wheel lug nuts) between the screws such that when fully tightened, the screws extend through the connecting body about the same distance. The screws should be firmly tight ... but ... not super-tight. Super-tight could possibly over-stress the connector body parts.
-
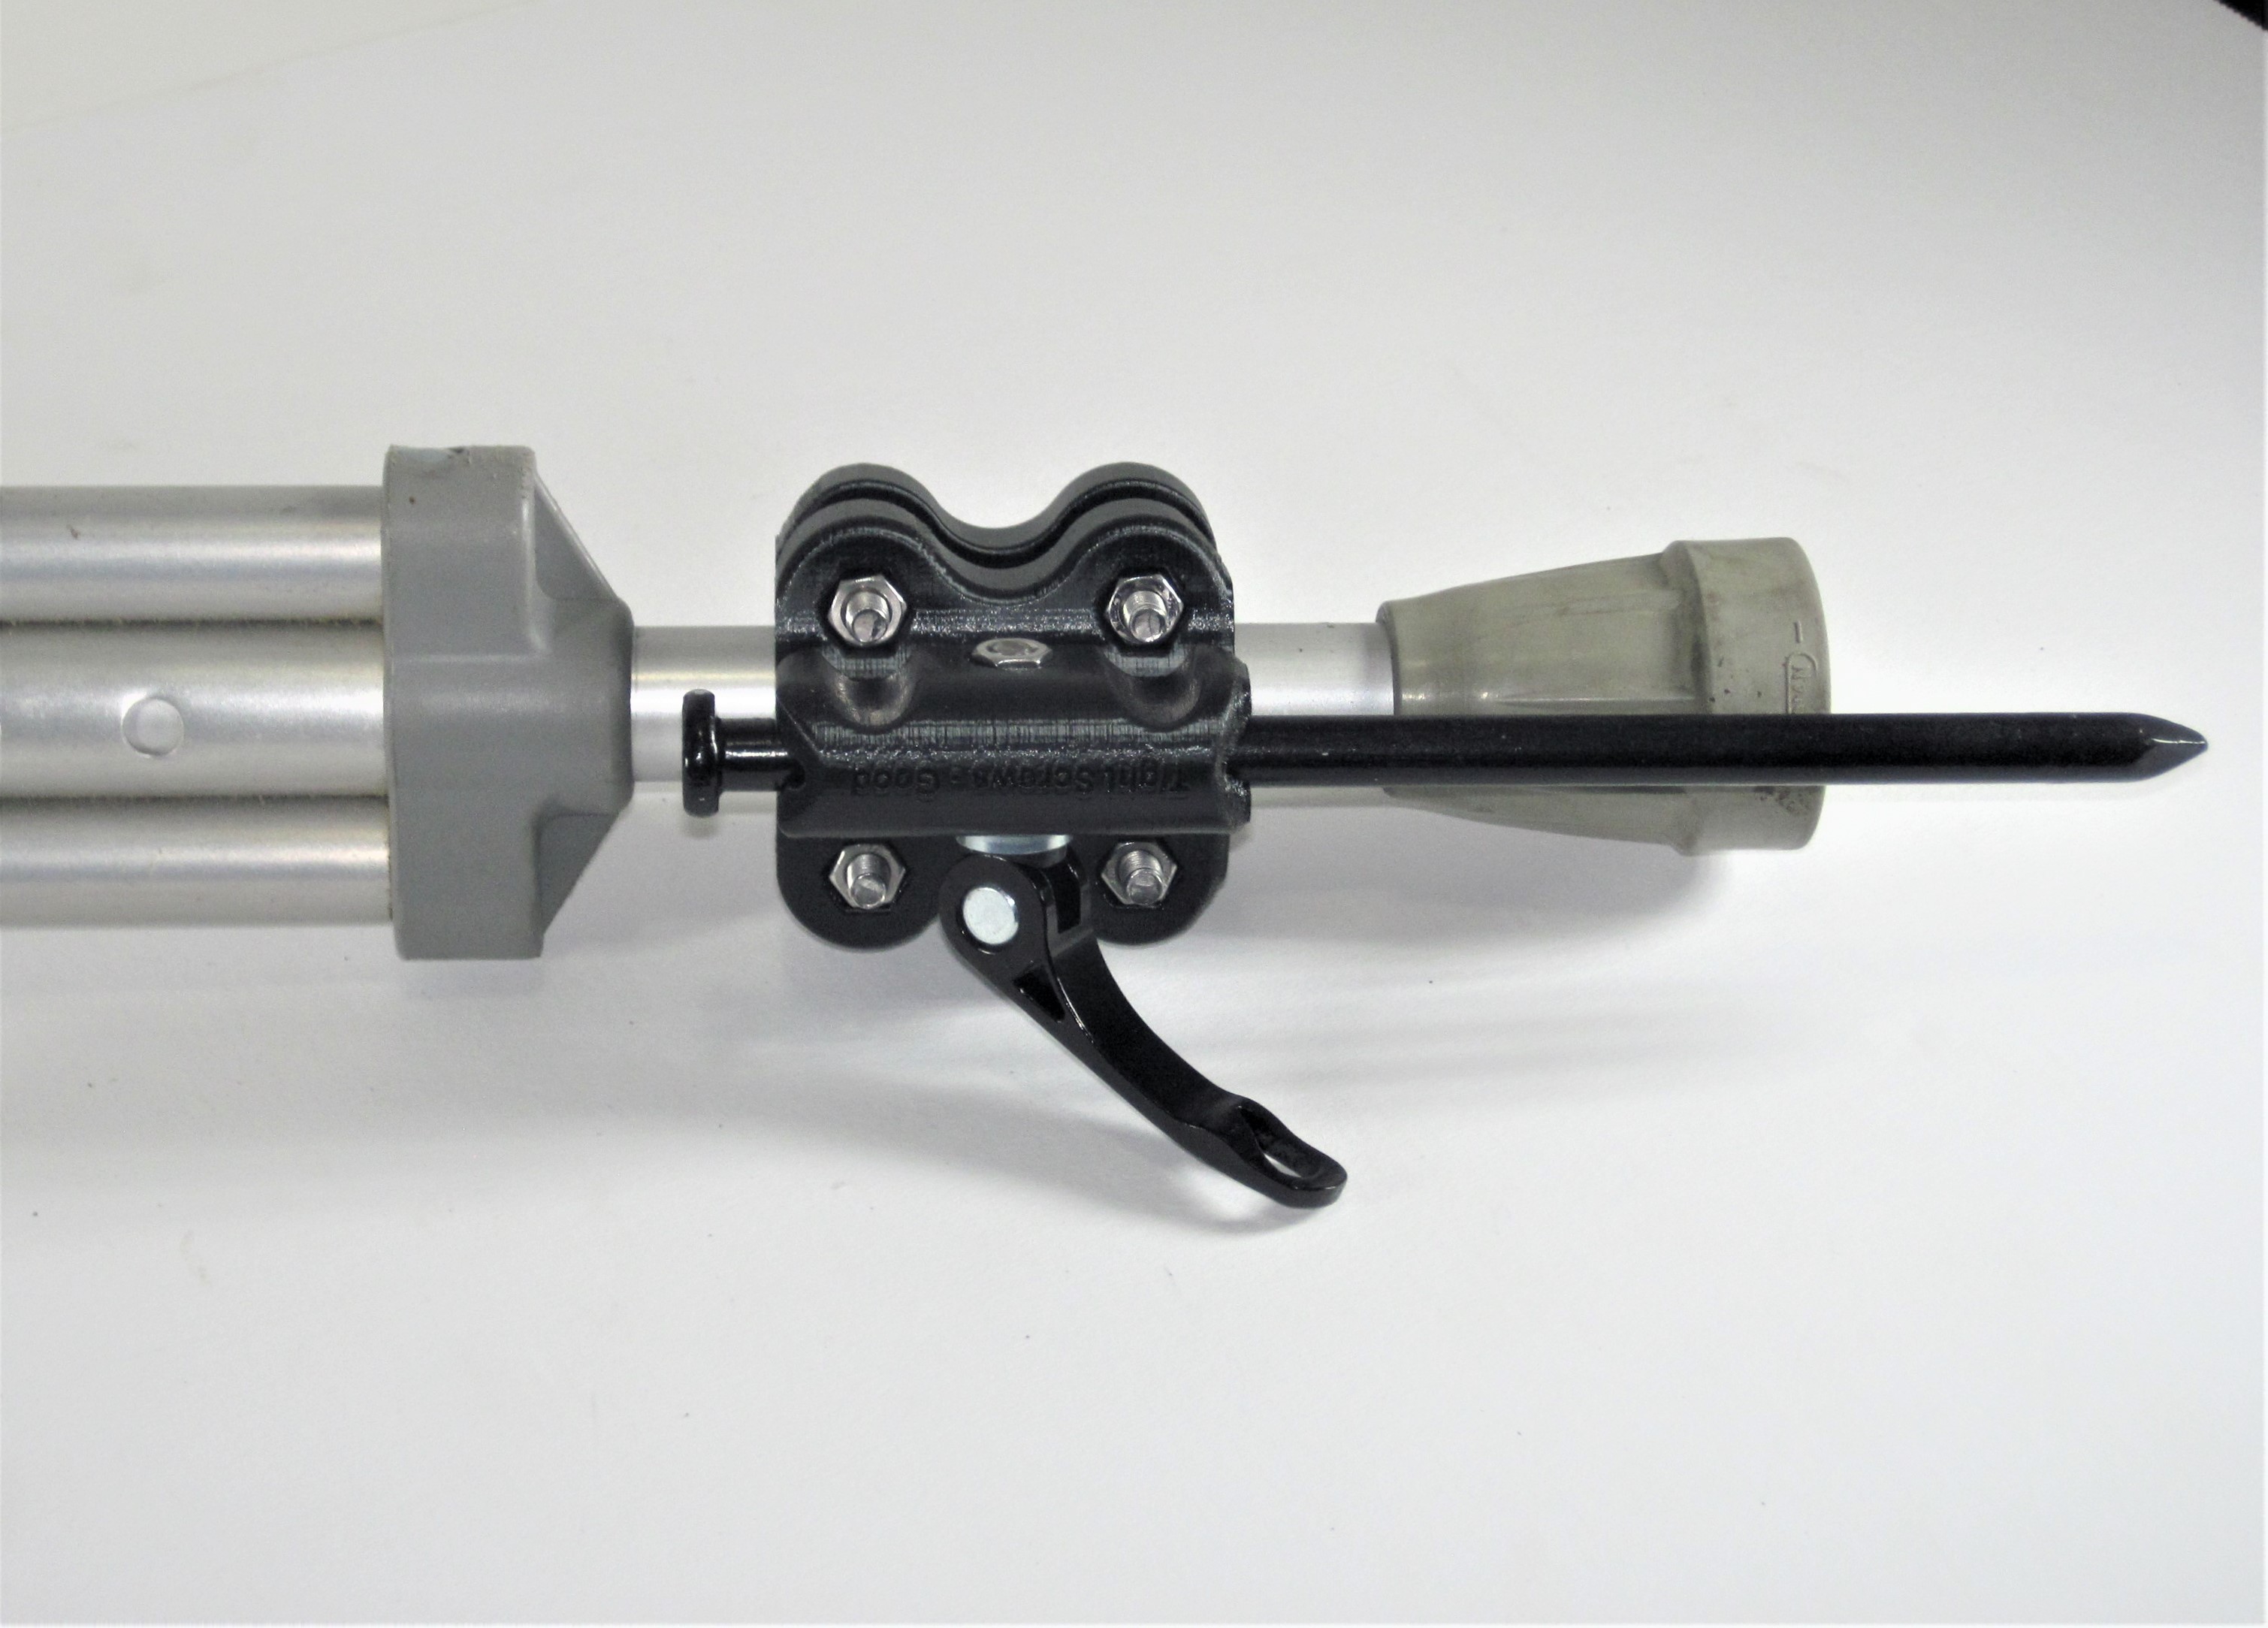
If you like how the connector body is positioned on the crutch or walking cane shaft, loosen the traction spike clamp and insert the spike clamp in its guide hole.
-
Tighten the traction spike clamp firmly, but don't overdo it. If you haven't done so already, push the rubber tip back in place. Make sure that it is all the way on. This may take some force. Now you are done. It's time to go "walking and rolling" in whatever weather and road conditions you may encounter!
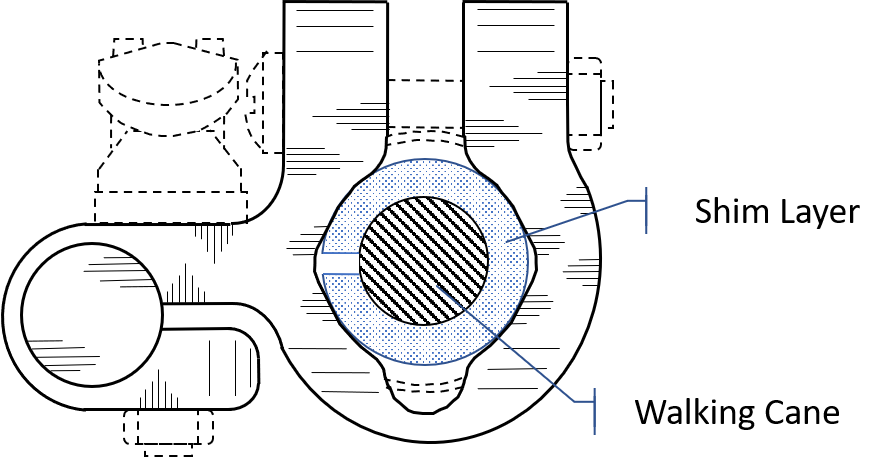
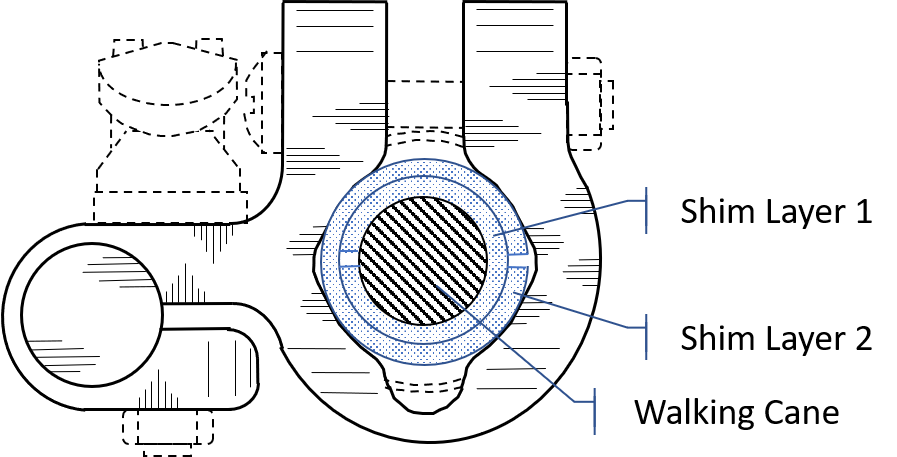
Here are cross-section sketches showing how the hard rubber shim strips should be aligned with the desired position of the connector bodies. Placing the shim strip air gaps pointing up or down in the vertical direction is OK also. Try not to position the shim gaps in the four regions where clamping force is applied.
Protective and Adaptive Rubber Cushion Strips:
Both the Model 1 and the Model 2 come with three, 3 inch lengths of 2 inch wide hard rubber strip that, when wrapped around the walking aid lower shaft, allows for installation on a range of shaft diameters between 3/4 and 1 inch. The rubber strip also protects the cane from being scratched when the Super Traction SafeTipTM body is clamped into place.
The three strips have thicknesses of 1/32; 1/16 and 1/8 inch. Used singly or in combination, these three strips allow for safe and secure installation of Super Traction SafeTipTM attachments on a wide variety of walking cane and crutch shaft ends. For fine-tuning, wrapping household tape around the shaft a time or two will enable an excellent fit.
Super Traction SafeTipTM Installation Hints and Tricks:
1. If needed, use household tape (masking, scotch, shipping) to form thin shims.
2. A layer of household tape (masking, scotch, shipping) tape will protect varnished wood canes from beng scratched.
3. In case a nut or bolt is lost, they are 6mm (metric) and easily available at hardware stores everywhere.
4. Be Warned: Installing a Super Traction SafeTipTM with a missing screw or nut will put large excess stress on the connecting body assembly. This could cause part failure ... probably at an inopportune time!
5. In some cases where the walking aid lower shaft is slightly more than 1 inch in diameter, it may be necessary to pry open the connector body about 1/16 inch in order to install the connector body on the shaft. This can be done using a standard flat blade screwdriver, chisel or other tool that provides leverage. If you try this, be careful!